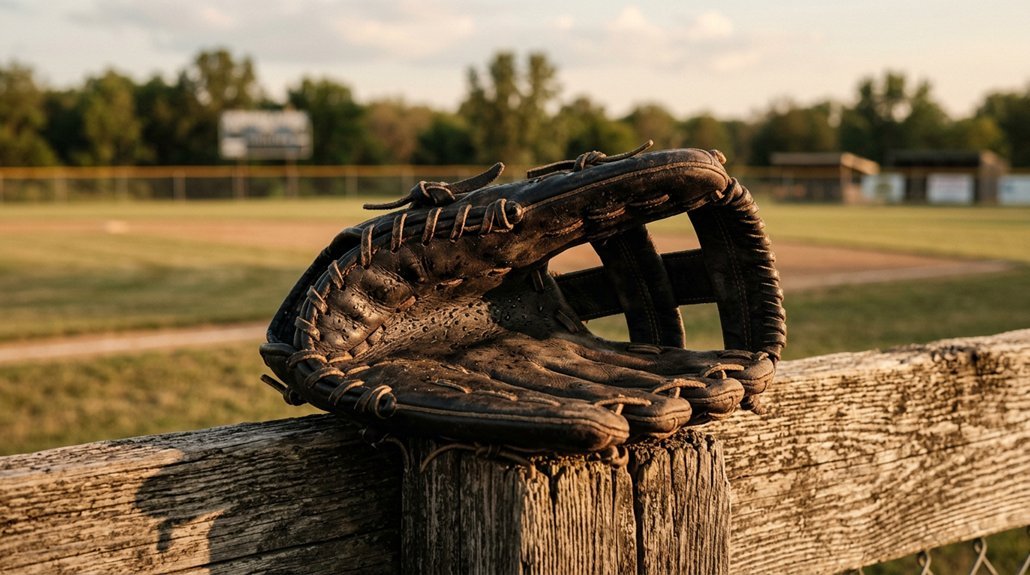
You’ve just pulled your glove from a surprise rain delay, and your first instinct might be to blast it with a hairdryer or set it on the dashboard. Don’t. Heat cracks leather faster than a rookie pitcher throws balls, and you’ll be shopping for a replacement before next weekend.
Instead, you’ve got a simple seven-step rescue plan that keeps your pocket deep and your leather supple. It takes patience, sure, but so does waiting on a curveball. Want to know why stuffing your glove beats squeezing it dry?
Blot Your Glove Dry: Don’t Rub the Leather
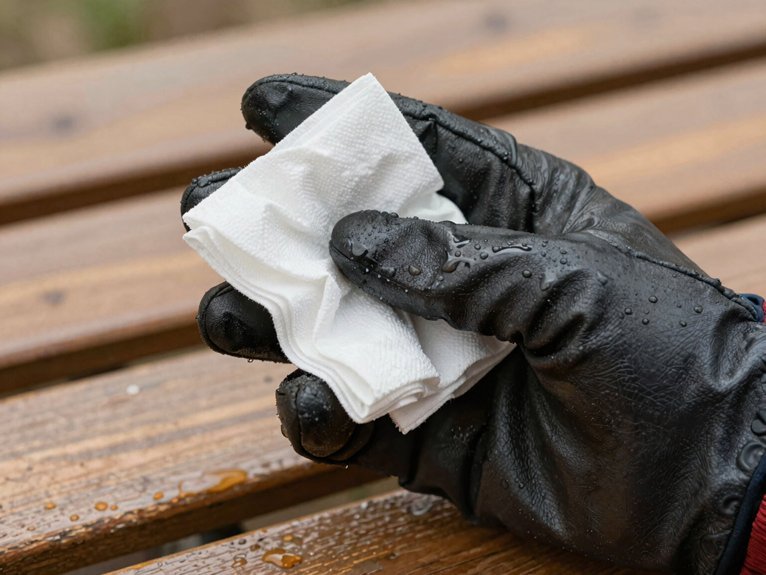
How do you save a soaked glove without making things worse? You start by blotting, not rubbing. Grab a clean towel and press gently against the leather to get your glove dry. You’re pushing water out, not grinding it around.
Rubbing’s a rookie mistake. It stretches the grain and scuffs the surface, leaving your leather rough and worn. Instead, you press and lift, press and lift. Target the fingers, palms, and webbing. That’s where water hides like a base runner stealing second.
Keep the glove’s shape intact by sliding a baseball into the pocket while you work. This isn’t the full shaping step, but it stops the leather from going flat.
Once you’ve blotted what you can, set the glove aside to air-dry at room temperature. Skip the heater, skip the sun. Patience wins this game.
Stuff the Pocket and Fingers to Hold Shape
You’ll want to grab a clean towel and your favorite baseball to stuff the pocket, since choosing the right materials makes all the difference in keeping your glove game-ready. Don’t forget to roll up smaller towel pieces and slide them into each finger stall, because maintaining proper structure now prevents a floppy, misshapen glove later.
Wrap another towel around the whole thing, and you’re setting yourself up for a smooth recovery without any bench-worthy mistakes.
Choosing the Right Materials
Where do you start when your glove’s soaked and sagging? Grab a clean towel and a baseball, that’s your first move. You’ll stuff the pocket with the towel, then wedge the ball right in there. This combo keeps your pocket from collapsing like a tired soufflé while moisture escapes.
Don’t forget those fingers! Roll up smaller towel pieces and push them into each finger stall. You’re preserving the glove’s natural contour, finger by finger.
Swap out damp towels every few hours, or grab newspaper if you’re running low. Paper towels work too, anything that wicks moisture without leaving lint behind.
Once your glove feels merely damp, not wet, pull everything out. Then reinsert that ball in the pocket. You’re locking in the shape for your next game, simple as that.
Maintaining Proper Structure
Three simple moves keep your glove from turning into a shapeless blob while it dries.
First, pat the exterior dry with a towel before you stuff anything inside. This protects the leather from unnecessary rubbing.
Next, insert a baseball into the pocket and keep your hand in the fingers during drying. Stuff each finger stall with a rolled towel to preserve their natural curve and protect the webbing from going wonky. Don’t forget the wrist opening; a filled towel maintains the overall silhouette as moisture escapes.
Check and adjust the pocket and finger alignment periodically while the glove air-dries. Remove inserts only after initial drying begins. Once completely dry, apply glove conditioner to restore flexibility and prevent cracking.
Your glove stays game-ready, not glove-ready-for-the-trash.
Circulate Air Around the Glove Without Heat
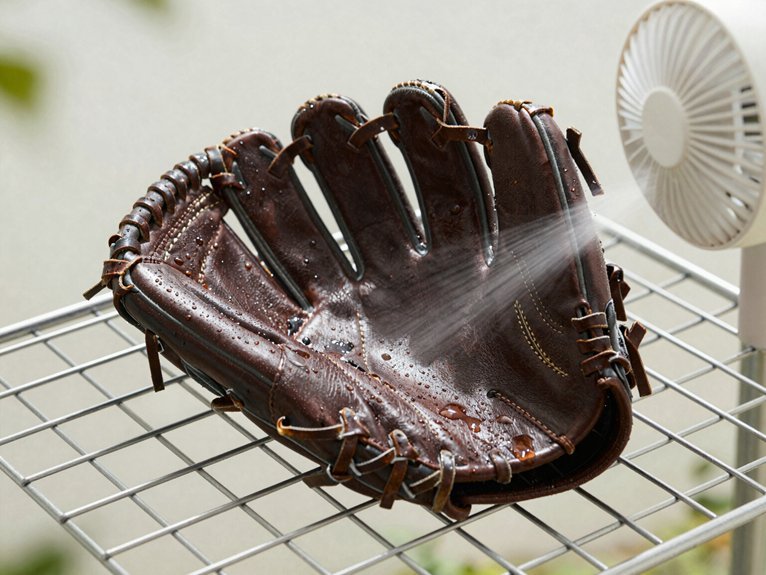
Once you’ve squeezed out excess water, it’s time to let air do the heavy lifting. Position your glove where airflow can reach every crevice without blasting it directly. You’ll want to use a fan, but keep it at arm’s length. Too close and you risk wind damage or surface cracking.
Lean the glove against the fan so air moves through the pocket and fingers. This prevents soggy spots and uneven drying. Make sure you’ve turned off any heat settings; hot air ruins leather faster than a rain delay ruins your plans.
Run the fan for a few hours, then give it a break. Continuous operation can overheat nearby items. Check periodically; you’re aiming for steady progress, not a speed record.
Let It Dry for a Full Day or Two
Although you might be itching to get back on the field, you’ll need to let your glove rest for a full day or two. Patience pays off here. You’ll want to let your Baseball glove air-dry at room temperature for 24 to 48 hours. Keep it away from direct sunlight, heaters, and definitely don’t toss it in the dryer. Rapid heat zaps moisture too fast and cracks the leather.
To help your glove hold its shape, tuck a Baseball into the pocket while it dries. This simple trick prevents the leather from collapsing or warping. Check on it periodically, but resist the urge to rush. Slower, natural drying keeps the leather supple and game-ready.
Once it’s mostly dry, you’ll be set for the next step.
Feel Inside for Dampness Before Oiling
Before you oil your glove, you need to check inside for hidden dampness that could ruin your leather. Run your fingers through the palm, fingers, and wrist stall to feel for moisture, and if you find any, blot it gently with a clean towel without rubbing.
Only start conditioning once the interior feels mostly dry, because trapping moisture under oil leads to mold and stiffness that’ll make your glove feel like a brick instead of a trusty tool.
Check Interior Moisture
How can you be sure your glove’s truly ready for oil? You’ve got to check for interior moisture hiding where you can’t see it. Slide your hand deep inside and feel around the palm, fingers, and pocket. If anything feels cool or damp, you’re not done yet.
Set the glove aside to air-dry longer, because oiling too soon traps moisture and damages the leather. Grab a clean towel and blot gently; don’t rub, or you’ll stretch the leather out of shape.
Still damp in the pocket or finger stalls? Stuff it with paper towels or a dry cloth to pull moisture from within. Check again after several hours. Only when the inside feels completely dry should you reach for that oil. Patience here saves your glove’s life.
Time Oiling Correctly
Once you’ve confirmed the inside feels bone-dry, you’re ready to bring that leather back to life.
Apply oil in a light, even layer across the palm, webbing, and lacing. Focus on restoring oils without oversaturating the leather. Start minimal; you can always add more if the glove still feels stiff after the first round.
Wait briefly, then recheck moisture levels inside the pocket and finger stalls. This ensures the oil penetrated everywhere it needed to go.
If the interior still feels dry after full drying, or the color hasn’t returned to that supple, healthy look, don’t hesitate to re-oil. Your glove’s longevity depends on this timing. Oil too early, and you’ll trap moisture; oil too late, and the leather cracks. Get this step right, and your glove stays ready for seasons to come.
Rub in a Small Amount of Glove Oil
A few drops of quality glove oil go a long way toward bringing your leather back to life. After drying, you’ll want to rehydrate the leather and restore its rich color without going overboard.
Here’s how to do this step:
- Grab a clean cloth and work the glove oil into every nook: palm, fingers, web, and laces
- Let it soak in for a few minutes before you start playing catch again
- Skip the heavy hand; clogged pores aren’t doing your glove any favors
No glove oil on hand? A tiny bit of conditioner from your glove care kit works in a pinch. If the leather still feels stiff after that first round, don’t stress. You can always add another light coat once the initial drying and conditioning wraps up.
Reshape and Store Until Next Game
With the oil worked in, your glove’s ready for the final stretch. Now you’ll reshape and store it properly so it’s game-ready next time.
Your glove’s ready for the final stretch—reshape and store it properly so it’s game-ready next time.
Reshape the Pocket****
Grab a baseball and pop it into the pocket. Close your glove around the ball firmly but gently, working the leather until you’ve got that familiar curve back. This step locks in the shape you need for snagging line drives.
Finish Drying Right
Let your glove rest in a cool, dry spot indoors, away from windows and heaters. Overnight drying works best for gradual stabilization.
Store Smart
Keep that ball tucked in the pocket during storage. Your glove stays formed and flexible, not flat and stiff.
You’ve saved your glove from the trash heap. Next rain delay, you’ll know exactly what to do.