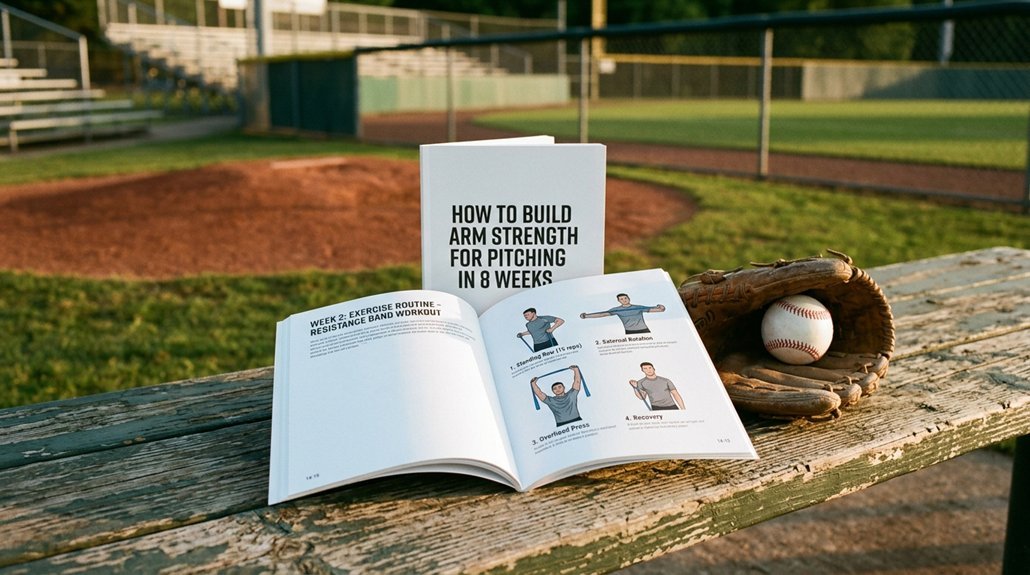
You want velocity that lasts. You need a plan that protects your arm. You’re ready to work smarter, not just harder.
This eight-week program builds you from the ground up, starting with your legs and core before touching a weighted ball. You’ll stabilize your shoulder, strengthen your rotator cuff, and develop the grip control that separates good pitchers from great ones.
Each phase stacks on the last, with clear recovery rules and deceleration work that keeps you on the mound. The first two weeks might feel slow, but that’s exactly the point.
Your Complete 8-Week Throwing Plan
Your 8-week throwing plan isn’t just a workout calendar; it’s your roadmap to building real arm strength without breaking down. You’ll follow a data-driven approach that uses periodization to progressively load your body, not just your arm.
How the Plan Works
Each week alternates between lower-body power days, arm and scapular stability work, and throwing-specific drills like long toss. Recovery days aren’t optional; they’re built in so you don’t burn out.
Building the Kinetic Chain
You start with foundational hip and core strength: hips, split squats, and Pallof press. Then you’ll advance to unilateral and ballistic movements like Bulgarian squats and medicine ball throws.
This sequence trains your kinetic chain to transfer power from the ground up.
Arm Care Essentials
Before you throw, you’ll complete external and internal rotations, prone Y-T-W raises, and scapular stability work. These preserve your range of motion and keep injury risk low.
Track and Adjust
Monitor your workload and velocity targets. Stay within a pain-free range, and adjust intensity to match return-to-play guidelines and your physical therapist’s recommendations.
Recommended Products

【Improved Pitching and Throwing】That sounds like a great product for athletes looking to improve their skills and performance! Our baseball bands is designed to enhance your pitching and throwing skills, allowing you to throw with greater accuracy, speed, and power.

Complete Baseball Training Bands Set: Includes 5 baseball resistance bands (10-30lbs), 2 handles, ankle straps, door anchor, baseball grip, guide & bag. Train anywhere – ideal for pitcher resistance bands drills & baseball arm bands for pitchers.

Complete Baseball Training Bands Set: Includes 5 anti-breakage latex baseball resistance bands (10-50lbs), 2 handles, ankle straps, door anchor, baseball grip, guide & bag. Train anywhere – ideal for pitcher resistance bands drills & baseball arm bands for pitchers.
Build Velocity From the Ground Up
You can’t build serious velocity by focusing only on your arm, since your hips and core actually generate more than half of your pitching power when they’re working together properly. You’ll want to train your lower body like the engine it is, using exercises such as Bulgarian split squats to build the single-leg stability and ground force you need for an explosive delivery.
When you sequence your pelvis and trunk correctly, you’re letting your legs do the heavy lifting, which means less strain on your arm and more miles per hour on your fastball.
Recommended Products

Fightech shoulder brace offers medium to strong shoulder support. By keeping constant soothing pressure on your shoulder our stability brace can help speed up the shoulder recovery process, protect your shoulder from further injury, and serves as a reminder to not overextend your injured shoulder.


SHOULDER SUPPORT FOR A VARIETY OF CONDITIONS: Shoulder injuries, sprains, strains, tendonitis, bursitis, rehabilitation following rotator cuff injury or surgery, as well as treatment of other conditions causing pain and discomfort in the shoulder. The shoulder brace can be used for a variety of sports activities, and for everyday optimal support.
Kinetic Chain Power
Where does real pitching speed actually come from? It starts in your legs and hips, not your arm. Your entire kinetic chain drives velocity, with your pelvis and trunk sequencing accounting for up to 55% of the speed difference between pitchers.
You need to train this connection deliberately. Here’s how to build it:
- Perform trap-bar deadlifts and split squats to develop explosive hip extension
- Add broad jumps to med-ball throws for plyometric transfer timing
- Use Romanian deadlifts and Bulgarian squats for unilateral hip strength
- Balance lower-body power with scapular stability and rotator cuff deceleration work
Your lower body acts as the engine. When you strengthen this foundation, you’ll throw harder with less arm stress. Periodize your training and integrate arm care throughout.
Ground Force Generation
How exactly do you push off the rubber with enough force to light up a radar gun? You start with ground force. Your legs drive power through your hips and trunk, sending velocity up the kinetic chain.
Your lower body is the engine here. It produces ground-reaction forces that transfer to throwing. Think of it like a car: no horsepower from the legs means no speed at the finish line.
Pelvis and trunk sequencing explain up to 55% of pitch-velocity differences. That’s why core-shield mechanics matter so much.
Build your lower-body power with trap-bar deadlifts and broad jumps. These boost hip extension and overall throw speed. Add unilateral work like split squats and single-leg deadlifts for windup stability. You’ll feel the difference when that ground force actually transfers to throwing.
Stabilize Your Shoulder Before Throwing Hard
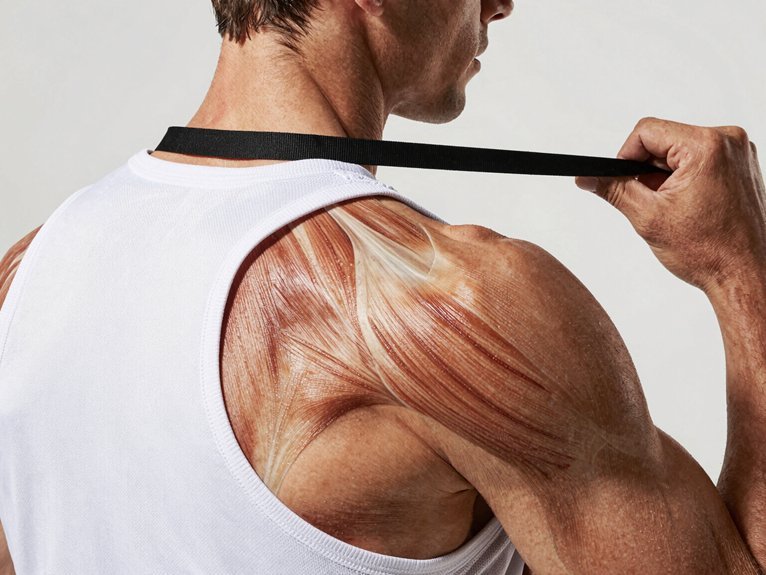
A stable shoulder isn’t just nice to have. It’s your foundation for throwing hard without breaking down. You can’t skip this step and expect your arm to hold up when velocity climbs.
Scapular stability keeps your arm path smooth and your slot consistent, so stress doesn’t pile up on your elbow. You need to lock this in before you start chucking.
Lock in scapular stability first, or your elbow pays the price when velocity climbs.
Build your base with these four moves:
- Banded external rotation to wake up your rotator cuff decelerators
- Prone Y-T-W raises for multi-plane scapular control
- Scapular push-ups to fire your serratus anterior
- Light band work before every throwing session
Do these consistently, and your shoulder tracks reliably. Skip them, and you’re asking for trouble when the season heats up.
Recommended Products

ADVANCED RANGE: Includes 6 weighted balls of varying weights for dynamic strength and mobility training (100g, 150g, 250g, 450g, 1000g, 2000g)

MIX UP YOUR ROUTINE: The Rhino Promax slamball offers a fun and unique way to get an effective workout without using traditional gym equipment. Incorporate our jumbo slam balls into your workout to improve speed, agility, cardio and core strength.

32 OZ WEIGHTED TRAINING BALL: This 32 oz, 3.5" training ball is sand-filled to provide optimal weight for effective strength and technique exercises. Built to withstand rigorous use, it’s ideal for both solo and team training sessions, helping athletes improve power and control
Build Rotator Cuff Strength for Arm Health
You need to protect your shoulder’s rotator cuff if you want to keep throwing hard without breaking down. Focus on deceleration training first: grab light dumbbells and perform external rotations to build endurance in the muscles that slow your arm after each pitch.
Balance that work with internal rotation exercises, and you’ll create a stable foundation that keeps your elbow and shoulder healthy through every inning.
Recommended Products

【Leg Exerciser】Single leg squat roller able to effectively leg exercise quadriceps, glutes, and hamstrings, improve body flexibility, balance, and coordination. This is an excellent gift for anyone who loves fitness.
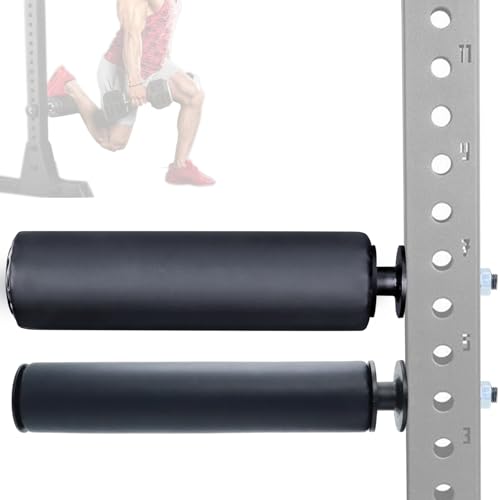
【Leg Exerciser】Single leg squat roller able to effectively leg exercise quadriceps, glutes, and hamstrings, improve body flexibility, balance, and coordination. This is an excellent gift for anyone who loves fitness.
Leg Exerciser:Single leg squat roller able to effectively leg exercise quadriceps, glutes, and hamstrings, improve body flexibility, balance, and coordination. This is an excellent gift for anyone who loves fitness.
Rotator Cuff Essentials
Why do so many pitchers hit the shelf with shoulder trouble when the fix is often sitting right in their gym bag? You’re about to find out. Your rotator cuff isn’t just one muscle, it’s a team that needs balanced training to keep you throwing gas.
Start with these essentials:
- External rotations with light dumbbells build endurance in your decelerators, protecting your shoulder through long outings.
- Internal rotations strengthen your accelerators, creating balanced power on both sides of the joint.
- Scapular stability comes from W-Y-W patterns and prone scarecrows, keeping your arm path clean and efficient.
- Pre-throw mobility paired with cuff work primes your shoulder before you even touch the mound.
Don’t skip the small stuff. These moves take ten minutes but save you months of rehab.
Deceleration Training Focus
Throwing a baseball is like slamming on the brakes at 90 miles per hour, except your arm is the car. You need serious deceleration strength to keep your shoulder healthy and your velocity climbing.
Build Your Brakes
Start with external rotations using light dumbbells or bands. These train your rotator cuff to slow your arm after release, building endurance where you need it most. Don’t skip internal rotations, either. You’re balancing your shoulder muscles for better arm speed and safer slowing.
Lock In Your Foundation
Scapular stability keeps everything timed right. Add the W-Y-W pattern for mobility and prone scarecrows for mid-back strength. These drills stabilize your decelerator chain so your shoulder doesn’t absorb all that force alone.
Put It Together
Pair these exercises with smart throwing progressions. You’re building brakes that last.
Develop Grip Strength for Better Control
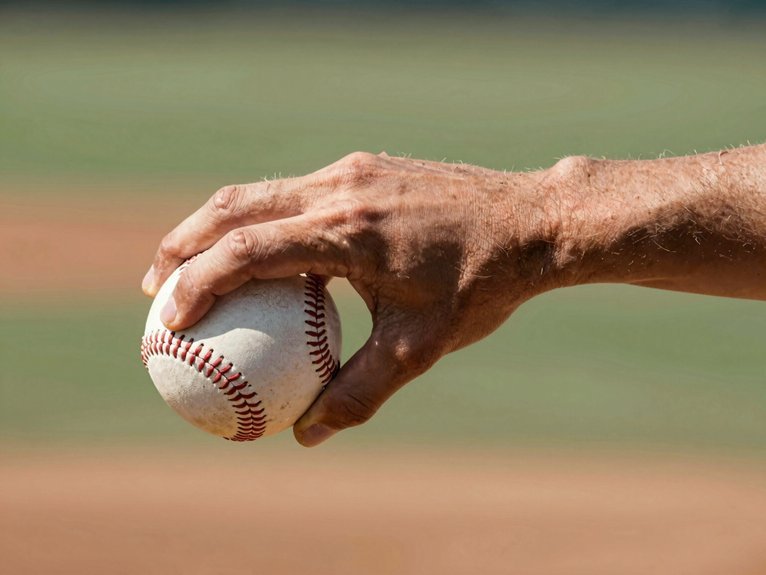
How exactly does a baseball stay glued to your fingers through a 90-mile-per-hour whip? It doesn’t happen by accident. Your grip strength, forearm endurance, finger-tension control, and wrist stability work together to keep that ball spinning exactly where you want it.
Strong hands aren’t just about squeezing harder. They’re about reducing stress on your elbow and wrist while sharpening your command. When your forearms tire, your release point wanders, and your velocity drops.
Build your grip with these essentials:
- Rice-Bucket Turns for finger-tension control
- Towel Squeeze Holds for forearm endurance
- Wrist Roller Curls for wrist stability
- Gradual progression with built-in recovery
Pair this work with shoulder and scapular stability to keep your whole arm balanced. Start light, build consistently, and watch your control improve.
Recommended Products

TEXTURED GRIP: A robust non-slip tire tread surface offers superior traction during intense workouts to prevent the heavy wall ball from slipping through your hands; security is paramount in exercise balls for physical therapy to prevent damage

Complete Baseball Training Equipment: The set has 12 items,including 5 resistance bands,2 durable handles,2 ankle straps,1 door anchor,1 baseball grip and 1 carry bag.This complete set of equipment will meet your baseball pitching training needs,whether in your own home,outdoors or at the gym

Complete Baseball Hitter Pitcher Training Equipment Set: 12-piece pro kit includes baseball resistance bands, durable handles, ankle straps, door anchor, baseball grip, push-pull bar, torsion sleeve, finger strengthener, and carry bag. Train pitching mechanics anywhere – home, gym, or field – with this all-in-one baseball throwing trainer solution.
Weeks 1-2: Foundation Phase Breakdown
Grip strength sets the table, but you can’t pitch with your hands alone. You need a solid base, and that’s exactly what the foundation phase delivers.
Grip strength opens the door, but a solid base is what lets you walk through it.
During weeks 1-2, you’ll build arm strength from the ground up by training your body’s full kinetic chain.
Start with lower-body power. Hit split squats and Bulgarian squats to develop leg drive that transfers into every throw. Your windup demands single-leg stability, so unilateral work isn’t optional, it’s essential.
Don’t skip trunk stability. Add Pallof Press movements to lock in your core, creating a strong link between your hips and shoulders. Keep weights light and stay pain-free.
Pair every upper body session with arm care before you even touch a ball. Track your progress with data, and you’ll set yourself up for velocity gains down the road.
Recommended Products

The cross-anchor design of the 4KOR resistance cords are engineered to improve shoulder and core performance. By strategically crossing the cords at the anchor point, we've created a dynamic resistance that allows for fluid, multi-directional movements, mimicking the natural range of motion of the shoulder. These resistance cords are a durable and convenient option to build shoulder strength and stamina wherever you go, including at the gym, field, or at home.

COMFORT & MOBILITY - Breathable, lightweight material allows for extended wear during daily activities while maintaining therapeutic support

SHOULDER SUPPORT FOR A VARIETY OF CONDITIONS: Shoulder injuries, sprains, strains, tendonitis, bursitis, rehabilitation following rotator cuff injury or surgery, as well as treatment of other conditions causing pain and discomfort in the shoulder. The shoulder brace can be used for a variety of sports activities, and for everyday optimal support.
Weeks 3-6: Build Phase and Recovery Rules
Where do velocity gains actually come from? They come from building strength without breaking down. In weeks 3-6, you’ll balance progressive overload with smart recovery rules to protect your elbow and shoulder.
You’ll prioritize lower-body power and hip stability, using unilateral and split-stance work to drive throwing velocity. Your arm care routine must include external rotator work, scapular stability drills, and anti-rotational exercises to support proper mechanics.
Your long toss progression follows data-driven targets, gradually increasing distance and intensity. Track your loads, volumes, and velocity to stay on course.
Follow these recovery rules strictly:
- Take 48 hours between intense throw days
- Complete post-throw mobility work
- Apply ice and compression as needed
- Prioritize nutrition and hydration for tissue repair
Stick to this plan, and you’ll build durable arm strength that lasts.
Recommended Products

Heavy-duty PVC construction with sand-filled core absorbs powerful impacts and slams while preventing unwanted bouncing

【SUPERIOR GRIP】- Unlike rubber exercise balls, wall balls with reinforced seam construction enhance your grip on the squash for functional fitness and heavy-weight training exercises.
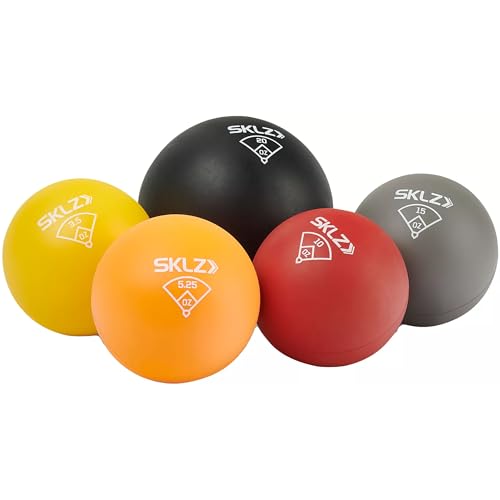
Improve pitching mechanics through overload and underload training
Weeks 7-8: Peak Velocity and What Comes Next
Why stop at good when you can hit your peak? You’ve built the base, and now it’s time to chase peak velocity with everything you’ve got.
Integrate Power and Plyometrics
You blend explosive medicine ball throws and jumps into training 1-3 times weekly. These drills transfer directly to the mound, maximizing hip drive and trunk rotation.
Lock In Unilateral Loading
You prioritize unilateral loading through split squats and single-leg work. This shores up your windup, cuts energy leaks, and keeps you stable through delivery.
Balance Upper-Body Strength and Arm Care
You pair upper-body strength with scapular-thoracic coordination and pain-free motion. Your arm stays healthy while your velocity climbs.
Plan Your Return-to-Play
You monitor throwing loads progressively, weaving in physical therapy guidance and objective benchmarks. The finish line’s close, so you stay patient and precise.
Recommended Products

【Leg Exerciser】Single leg squat roller able to effectively leg exercise quadriceps, glutes, and hamstrings, improve body flexibility, balance, and coordination. This is an excellent gift for anyone who loves fitness.

Commercial-Grade Stability: Constructed with heavy-duty steel, this squat stand maintains exceptional stability under loads exceeding 300lbs. The four rubberized bases protect floors while ensuring secure workouts. Quick 15-minute assembly lets you focus on training

ADJUSTABLE HEIGHT: Single leg squat stand has 12 adjustable levels to cater to various user heights; At the right height, you can move more efficiently and increase leg strength with split squat roller at a lower risk