You just bought a $300 glove, but it’s stiff as a board. That leather won’t catch anything until you soften it up, and you’ve got a game Saturday.
Here’s how to break it in fast without ruining the shape.
Moisten Your Baseball Glove Leather to Start Breaking It In
A few simple steps can turn stiff leather into something game-ready. You’ll start by using warm water between 150–170°F to moisten leather on the palm area, which softens the material without causing damage. Don’t boil or microwave the glove, as you’ll ruin the leather.
Keep those finger stalls upright while you work. This prevents water from pooling inside and distorting the shape you’re building toward.
Focus your attention on the palm and web, since these zones need the most give for shaping. Once you’ve saturated the glove, grab a wooden mallet and begin forming your break-in pocket while the glove pliability is at its peak. The leather responds best when it’s warm and workable, so don’t wait too long to start pounding.
Recommended Products

POWERFUL DEEP CLEANING: Saddle soap not only has a strong cleaning ability to quickly remove dirt, dust, and stains on leather like mud stains on saddles, daily dust on handbags, or stubborn marks on leather shoes but also can penetrate deep into the interior of leather to provide deep nourishment, effectively preventing leather from drying and cracking, maintaining the softness and elasticity of leather
Waterproof - three layer construction for warmth, durability and waterproofing

SUPERIOR WARMTH AND COMFORT: Insulated leather work gloves with 100g 3M Thinsulate and soft fleece lining. Keeps hands warm and cozy in freezing temperatures while maintaining dexterity and comfort without bulk
Work the Heel and Fingers Until They Give
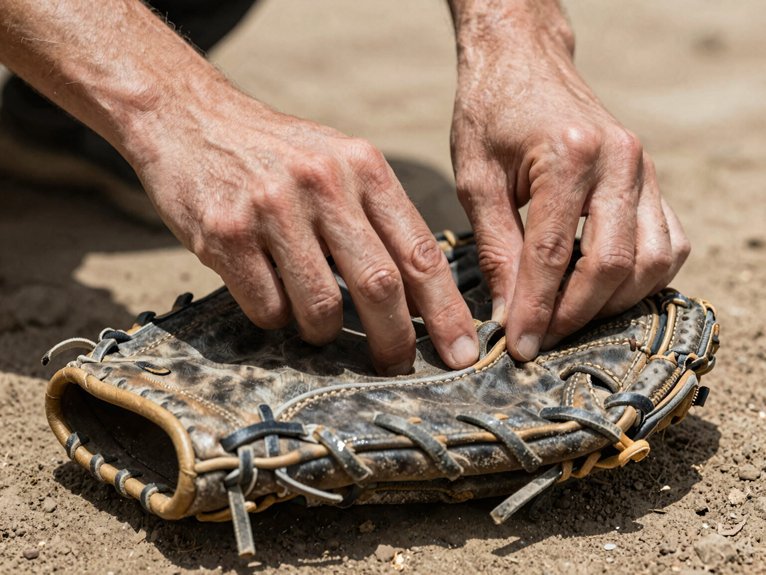
You’ll want to grab your glove and get those stubborn spots moving. Start by squeezing and pulling the heel pad back and forth while keeping the back of the fingers toward your chest, since this softens the stiffest area where your hand anchors.
Next, stretch those top laces by gripping the thumb and pinkie, pulling in opposite directions to loosen the finger tops, and don’t forget to flex the heel pad repeatedly until you feel real give where there used to be resistance.
Once you’ve worked through these motions, toss a ball around to test whether your glove’s finally starting to cooperate like a teammate should.
Recommended Products

Speed Up Traditional Glove Break-In: Transform your glove into a game-ready companion with the Hot Glove Mallet – the key to an effective break-in process. Say goodbye to stiffness and hello to a glove that's ready for action.

BREAK-IN ASSISTANT | The glove mallet is the perfect break-in assistant to help soften the leather of your glove so it is game-ready in no time!
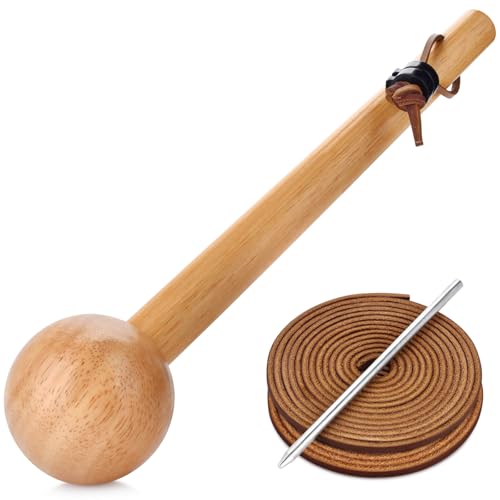
【baseball hammer and 2 leather lace and 1 Relace needle】The baseball hammer is made of beech wood. The wood is solid, durable wooden mallet built to last. 2 Alum tannage leather laces is extremely strong and durable, perfect used for the lacing in baseball gloves. 1 relace kit needle for baseball glove.
Squeeze and Pull
Where exactly should you start when the leather feels stubborn and unforgiving? Position your glove with the back of the fingers facing your chest, fingers pointing upward. This targets the heel pad perfectly.
Grab the thumb and pinkie, then squeeze and pull each side back and forth. You’re softening that stubborn heel pad, increasing pliability with every motion. Keep flexing the heel area repeatedly; this isn’t just busy work, it’s a crucial step in your glove break-in.
This squeeze and pull technique relaxes the heel so it yields easily when you catch. Better pliability means better pocket formation down the line. Think of this as foundational work in your break-in sequence, setting up everything that follows. The glove starts listening to your hands here.
Stretch Top Laces
The top of your glove needs some love too. You’re working through the glove-breaking process, and now it’s time to stretch top laces for better flexibility where it counts.
Start by folding the top of the web into an ‘S’ shape, then compress it for five to ten seconds. This loosens the web and helps with closing.
Next, grab the top of the pinkie and thumb, pulling in opposite directions to stretch those finger tops and laces.
Don’t forget to work the heel by flexing and applying gentle pressure to the sides.
Keep repeating these motions until the web and finger stalls give slightly, then bounce back.
This breaking in sequence shapes the top portion for easier closure. You’ll feel the difference when snagging line drives, as improved flexibility lets the glove snap shut naturally.
Flex Heel Pad
Why stop at the top when the heel needs attention too? The heel pad often gets overlooked, but it’s essential for closing ease and overall glove flexibility during break-in.
Position your glove with the back of the fingers facing your chest, fingers pointing upward. Hold the glove by the thumb and pinkie, then squeeze and pull each side back and forth. You’re softening that stubborn heel pad, increasing pliability where it matters most.
Keep working this area repeatedly. As the heel pad loosens, you’ll notice improved pocket formation around your hand. The glove starts to feel like an extension of you, not stiff leather fighting back.
This step directly targets glove flexibility, making the entire break-in process smoother. Don’t rush it. Your patience here pays off with a glove that closes naturally and fits like it was made for you.
Pound the Hinge Points So Your Glove Opens and Closes Easily
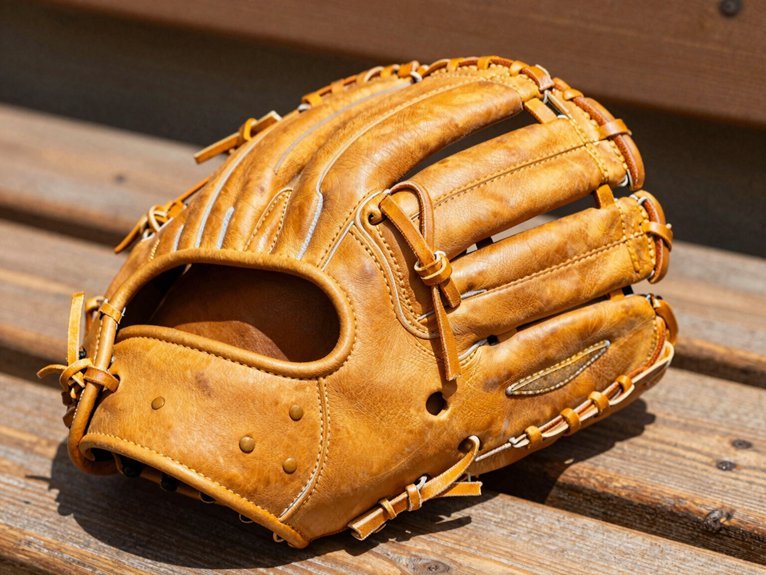
You’ll want to target the break points in your glove’s palm and web to establish clean hinge creases that make opening and closing feel natural. Grab a mallet or a 5 lb. neoprene dumbbell and strike these areas firmly, which creates folds that let the glove hinge smoothly without fighting you.
Position the glove so you can reach these spots easily, then pound with steady, consistent blows until you see a defined crease forming.
Recommended Products

ALL-IN-ONE KIT | Includes all you need to re-lace your glove and restore its performance

ALL-IN-ONE KIT | Includes all you need to re-lace your glove and restore its performance

Glove Re-Lace Pack (Carolina Blue)
Target Break Points
How do you get that stiff new glove to actually cooperate when you’re fielding grounders? You’ll need to pound the hinge points with a mallet, focusing on the pocket and outer palm to create natural break points.
Target the heel pad by flexing the sides and pulling back and forth. This loosens the hinge where your hand folds, so the glove can open and close without fighting you. Use controlled mallet strikes on the thumb and pinkie sides to establish these break points.
Form the pocket so your glove naturally hinges around the ball, letting your fingers close around it more readily. Test your progress by catching regularly. You’ll know you’ve succeeded when those hinge points open and close smoothly, without that annoying stiffness slowing you down.
Establish Hinge Creases
Where exactly should you pound to get that stubborn glove moving like a well-oiled machine? You’ll focus your energy on the hinge zones that control how your glove opens and closes during play.
Grab your glove mallet and position the glove so you can reach the key flex areas. Strike firmly but don’t go overboard; you’re building a natural hinge, not destroying the leather.
Target these critical spots:
- The pocket crease where the ball settles most often
- The palm-heel crease at the glove’s base for smooth closure
- The web-to-palm junction where flexibility matters most
- Areas around the hinge using short, controlled hits
- Zones that need rechecking after playing catch
Test your break-in progress by opening and closing the glove repeatedly. You’re aiming for balanced movement that snaps shut quickly while keeping your pocket’s shape intact.
Shape the Pocket With a Mallet and Ball
Why settle for a flat, unforgiving pocket when you can craft one that actually catches? Grab your glove mallet and let’s shape this thing right.
Place a ball in pocket and start pounding. Strike the pocket area repeatedly to soften stiff leather and form a defined creased valley. You’re building the heart of your glove here, so don’t rush it. Fold and flex while you strike to create a natural crease that guides the opening toward ball retention.
After pounding, try rolling the glove gently to shape the pocket to your preferred depth. This rolling motion locks in that rounded form for easier captures.
Repeat mallet pounding and rolling throughout the break-in process. Consistency prevents reversion as leather dries. Your patience now means fewer bobbles later.
Loosen the Web Laces for Smoother Closure
When’s the last time your glove snapped shut like it should? You’ll fix that right now by working the web laces, a crucial move in your break-in process.
Fold the top of the web into an ‘S’ shape and compress for five to ten seconds. This helps loosen the web and improves glove closure dramatically.
Here’s what this step accomplishes:
- Reduces stiff areas in the bridge between your thumb and fingers
- Allows the web laces to flex naturally when catching
- Improves pocket formation by letting the leather settle
- Creates that satisfying snap you need for secure catches
- Lets you test and repeat if the web remains too tight
After loosening, grab a ball and test it out. If it still fights you, compress again. Your glove’s ready to work with you, not against you.
Recommended Products

MULTI-PURPOSE APPLICATIONS - Ideal for the auto industry, power tools, motorcycling, utility workers, regular construction, logistic, warehousing, driving, forest, carpentry, ranching, landscaping, gardening, picking, camping, hand tools and DIY heavy duty works require higher protection in cold condition

MULTI-PURPOSE APPLICATIONS - Ideal for the auto industry, power tools, motorcycling, utility workers, regular construction, logistic, warehousing, driving, forest, carpentry, ranching, landscaping, gardening, picking, camping, hand tools and DIY and light or medium duty works in cold condition

High Performance Waterproofing: Designed to maintain grip and breathability of fabric and leather gloves while adding water repellency
Wrap Your Glove Overnight for Faster Break-In
To form that pocket quickly, you can accelerate your baseball glove break-in by wrapping it overnight.
Place a ball in the pocket and wrap the glove tightly with two to three rubber bands in an overlapping X pattern. This holds the shape while it dries. Leave it wrapped for four to five hours to set the pocket depth you want, deep or shallow.
Wrapping prevents the leather from reverting as it dries. It maintains that essential pocket depth for better ball retention during play. After unwrapping, pound the pocket again with a mallet to refine the shape further.
This simple overnight trick constrains the leather during drying, locking in progress you’ve made. You’ll wake up to a glove that’s closer to game-ready without extra effort.
Recommended Products

【Baseball Glove Hammer Material】The baseball hammer is made of beech wood. The wood is hard and heavy. It has good strength performance and particularly high friction and wears resistance

One-Piece Solid Wood Construction: Crafted from a single block of premium wood—no joints or glue. The mallet measures 11.8" in length and features a durable, crack-resistant design for years of glove shaping

【Be a Pro Defender】this baseball glove break-in kit! It comes with a glove mallet, two wraps, a plastic training ball, and two black glove locks. Use these tools to shape your new baseball glove to fit your playing style perfectly. Please note that the leather base glove is not included in the kit.
Play Catch to See If Your Glove Is Game-Ready
Where else can you truly test a glove’s readiness except on the field? Playing catch remains the core break-in method, as repeated catches seat the glove to your hand and progressively loosen the leather. You’ll feel the difference after several sessions: less stiffness, more responsiveness, a glove that’s actually coming alive.
Nothing beats the field for testing a glove’s true readiness—playing catch is where leather truly comes alive.
Here’s what happens when you commit to regular catch sessions:
- The pocket forms naturally around your hand’s shape
- Break points align without forcing oils or heat
- The leather softens through real game-like action
- You spot stiffness that needs more attention
- You decide if the glove feels truly game-ready
If stubborn stiffness lingers, don’t panic. Revisit softening the leather or reshaping the pocket until that satisfying snap closure feels automatic.
Recommended Products
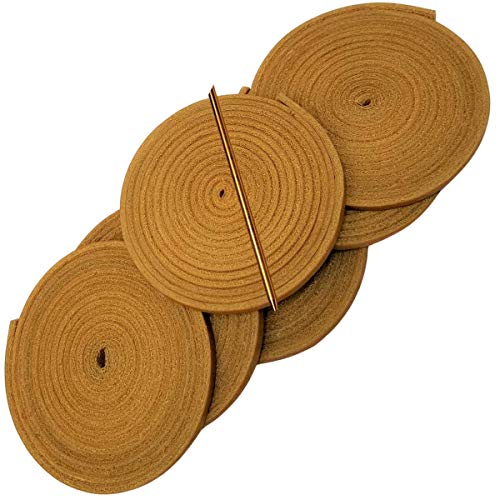
TOFL Baseball Glove Repair Kit: Includes 6 authentic cowhide leather baseball glove laces (72” x 3/16”) and a durable lacing needle. Enough to relace the pocket and fingers of your favorite mitt.

Made for glove repair that actually gets finished: each kit includes 2 genuine cowhide leather laces and a lacing needle, so you can replace worn or broken glove lace without hunting for extra tools.
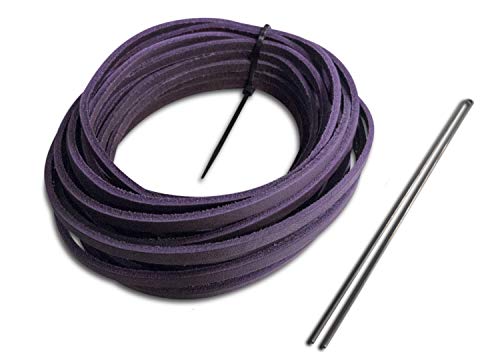
ALL-IN-ONE KIT | Includes all you need to re-lace your glove and restore its performance