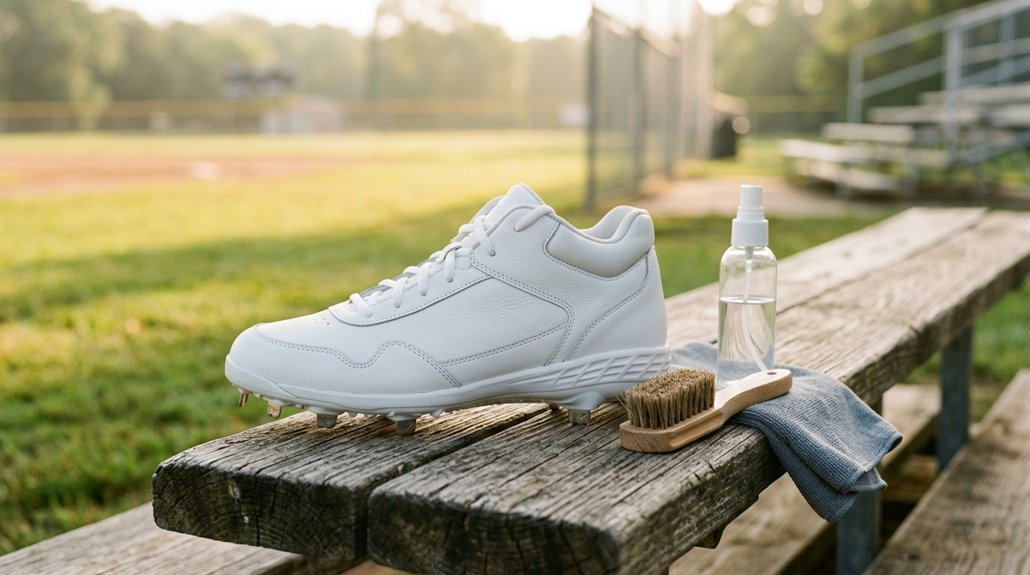
You step off the diamond with mud-caked cleats, grass stains darkening the leather, and that unmistakable locker-room smell already rising. Your gear takes a beating every game, but you don’t need fancy products or hours of scrubbing to keep your cleats game-ready.
There’s a simple 10-step system that protects your investment, extends your cleat life, and keeps teammates from wrinkling their noses in the dugout. The best part? You’ll spend less time cleaning than you do in the on-deck circle, and your cleats will look sharp enough to steal the spotlight. Here’s how you knock dirt and odor out of the park.
Remove Cleats Right After Games to Stop Odor
Why let stink steal your victory? You just crushed it on the field, so don’t let lingering sweat ruin your gear. Remove your cleats immediately after games to kickstart odor removal and limit how long moisture hangs around.
Get Them Out Fast
Strip off those cleats the second you leave the field—every sweaty minute counts.
Take those cleats out of your feet pronto. Every minute counts when sweat’s soaking in. Toss them in your trunk, not the cabin; your nose will thank you later. Better yet, slide into baseball slides for the ride home. This keeps footwear separate from your feet and speeds up drying.
Start Drying Now
Don’t let them sit in a hot car. Move them to a dry area ASAP. Quick action means less stink later, and that’s a win you can smell.
Recommended Products

Durable nylon cleaning bristles ,Extremely durable Plastic handle, shoe brush with shoehorn handle and spike wrench, aluminum carabiner

Versatile & Multi-Purpose Cleaning Tool: The BootBuddy Shoe & Boot Cleaner Brush is your go-to solution for cleaning all types of footwear and outdoor gear. Whether it's hiking boots, golf shoes, soccer cleats, or even pram and wheelchair wheels, this cleaner is built to tackle dry or wet mud with ease. Save valuable time and energy and get back to your outdoor adventures or everyday activities quickly with BootBuddy

Multifunctional Brush: High-quality soft household cleaning brush bristles, easy to clean dirty parts of clothes, such as collars and cuffs, can also be used to scrub leather fabrics, will not damage the fabric.
Knock Loose Dirt Off Your Baseball Cleats
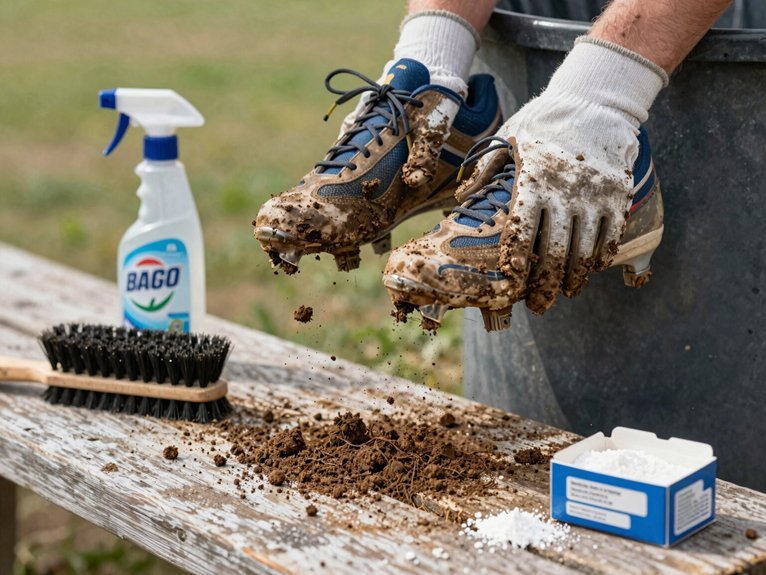
The first step to fresh cleats starts with a little elbow grease. You’ll want to begin cleaning dirt off baseball cleats by manually knocking off dried mud and debris before it causes deeper staining. Grab a tool to dig into those hard-to-reach spots between studs, because trapped dirt leads to odor you’ll fight later with baking soda and water.
Next, take your brush and gently sweep from the top down, removing loose dirt without scuffing the uppers. This dirt removal prevents surface grime from embedding once warm water hits. Think of it as clearing the bases before the real cleaning process begins.
Wipe away what you’ve loosened, check that all debris is gone, and you’re set for the next step. Proper prep now means less work later when you air dry and store cleats.
Recommended Products
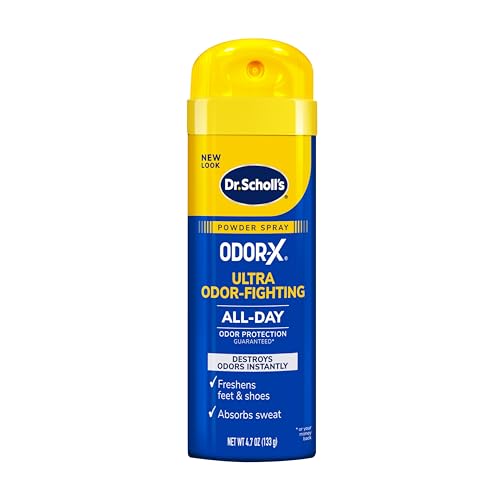
Dr. Scholl’s Odor-X ODOR-FIGHTING Spray-Powder is specifically formulated for people with annoying foot odor and is designed to deliver All-Day Odor Protection with Sweat Absorption in a convenient Spray-Powder format. This foot powder spray combines the feel of foot powder with the ease of a spray, making it simple to use as part of daily use for men and women. Whether you are getting ready for work, packing for travel, heading to the gym, or freshening up inside shoes, this foot powder spray fits easily into your routine.

Effective Shoe Spray For Smelly Shoes: Uncle Todd’s Odor Stomp is a fast-acting shoe spray for smelly shoes, providing powerful shoe odor elimination and long-lasting freshness, like odor eaters for shoes.

1 MILLION+ BOTTLES SOLD ON AMAZON: Family-owned US business that has spent years perfecting this formula. We read every customer message personally and stand behind every order.
Take Out Laces and Stuff Toes With Newspaper
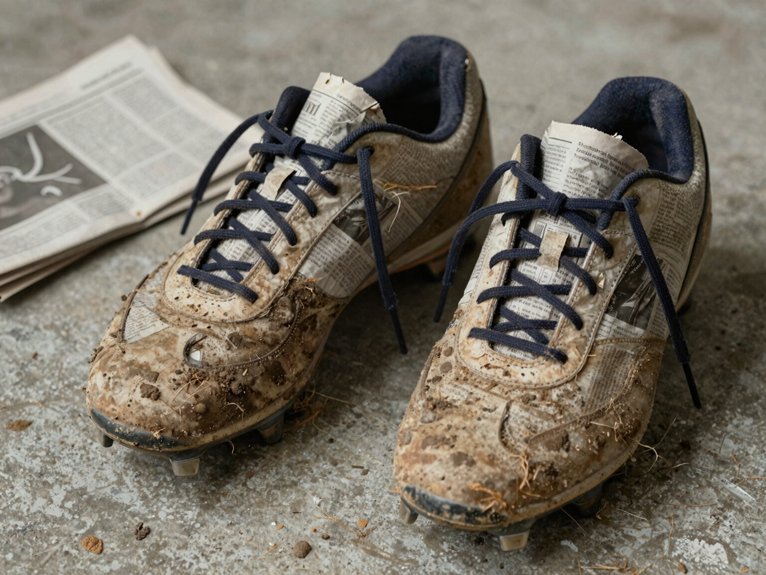
How do you keep your cleats from turning into soggy, shapeless messes while you clean them? Start by pulling out those laces completely. This stops water and soap from tangling them up, and you’ll get better access to scrub every crevice.
Next, grab yesterday’s sports section and stuff the toe cavity snugly with newspaper. This simple trick maintains your cleat’s shape and soaks up moisture during cleaning and drying. It also blocks water from seeping inside where it doesn’t belong.
For extra odor-fighting power, sprinkle a little baking soda on the newspaper before stuffing. The baking soda absorbs funky smells while the paper does its job.
Wash those laces separately on a Delicates Cycle if they’re salvageable, or just grab fresh ones. Reinsert everything only after your cleats are bone-dry.
Mix Warm Water and Mild Soap for Cleaning
Now that your cleats are stuffed and ready, you’ll whip up a gentle cleaning solution that tackles grime without damaging the material. Grab a bowl and mix 2 cups warm water with just 1/4 teaspoon mild dish soap. That’s it; you’re not washing dishes here, so keep it light on the suds.
This simple blend lifts dirt without harsh chemicals that could crack leather or fade synthetic uppers. Stir until the soap dissolves completely, and you’ve got yourself a safe, effective cleaner.
If you’re dealing with white cleats that have seen better days, set aside a small paste of equal parts baking soda and water for tough stain spots. Your solution is ready, and your cleats are about to look game-day fresh.
Recommended Products

ON-THE-GO ODOR CONTROL: ARM & HAMMER Fresh Effects Odor Neutralizing Pouches instantly absorb and eliminate big odors while you're on the move

SMALL-SPACE ODOR CONTROL: OdorBusterz are designed to help control everyday odors in the tight spaces where they build up most, closets, drawers, hampers, lockers, gym bags, and storage bins.
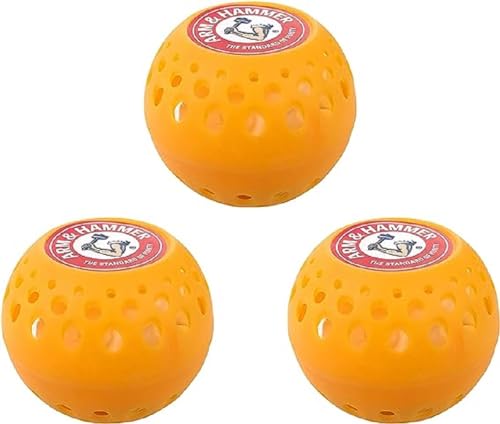
SMALL-SPACE ODOR CONTROL: OdorBusterz are designed to help control everyday odors in the tight spaces where they build up most, closets, drawers, hampers, lockers, gym bags, and storage bins.
Scrub Every Surface Including Studs and Seams
Grab your soft-bristled brush and get ready to tackle every inch of your cleats, because surface dirt removal starts with a thorough once-over of the uppers and sides.
You’ll want to pay extra attention to stud gap cleaning, since mud loves to hide between those spikes and harden into stubborn clumps that affect your traction.
Finish strong with seam detail scrubbing along the edges and stitching, where grime collects and can break down the materials if you let it sit too long.
Recommended Products

HEAVY DUTY | 3 rows of nylon bristles make cleaning the plate a breeze

Package Content: You will get 2 pieces of baseball glove scrub brush. They can effectively clean dirt on gloves.
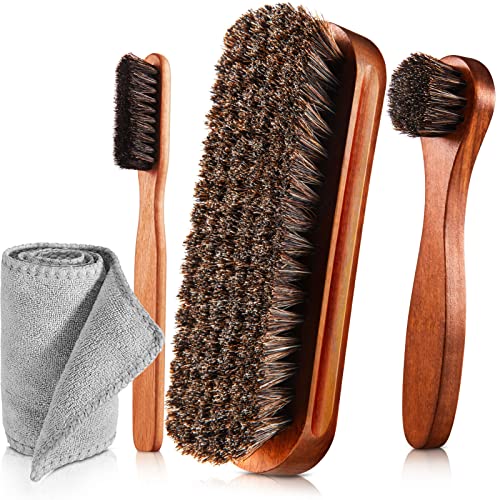
Shoes Shine Brush Set - There are 1 x large size shine brush, 1 x long handle horsehair brush, 1 x detailing shoe brush and 1 x microfiber buffing cloth
Surface Dirt Removal
Where exactly does all that grime hide? You’ll find it lurking in every seam, stitch, and stud on your cleats. Start by knocking off dried mud and debris with a soft-bristled brush. Work over the entire surface, including those tricky spots where dirt loves to settle.
Hit the top sides gently, focusing on seams where gunk builds up. Tackle the studs carefully, dislodging embedded grime without scratching your uppers. Mix 2 cups warm water with 1/4 teaspoon mild dish soap, then dip and scrub thoroughly.
For white cleats, don’t panic when stains stick around. Whip up a baking soda and water paste, spot-treat those stubborn marks, then rinse everything away with warm water. Your cleats will look game-ready again.
Stud Gap Cleaning
Once you’ve cleared the surface, it’s time to get into the nitty-gritty, literally. Grab a soft-bristled brush and your mild soap solution, you’re going deep between those studs.
Scrub every surface, including the studs, seams, and sole edges. Work the brush into the gap between studs, brushing along their bases to knock out packed dirt and mud that kills your traction.
Don’t rush this, trapped debris hardens fast and damages your cleats over time.
For stubborn buildup, sprinkle baking soda into the gaps before scrubbing. It lifts grime and fights odor at the source.
Rinse thoroughly after scrubbing. Residue left behind becomes concrete later.
Dry completely with good air circulation. Wet studs and seams breed mold and stink, so give them time. Your grip depends on it.
Seam Detail Scrubbing
How do you know when you’ve really cleaned your cleats? It’s when you’ve hit every seam and stud gap, leaving no hiding spot for dirt.
Grab your soft-bristled brush and mix 2 cups warm water with 1/4 teaspoon mild dish soap. Now scrub every surface, including studs and seams, where mud loves to camp out. Pay extra attention to stitched areas. They’re dirt magnets.
For stubborn grime, sprinkle a little baking soda on your brush. It adds gentle scrubbing power without damaging materials.
Scrub between studs where gunk builds up. Work along seams with small circular motions. Check hidden spots like tongue edges and heel cups.
Rinse with warm water to wash away soap and debris. Residue attracts more dirt, so don’t skip this step. Air dry your cleats in a ventilated spot away from direct heat. This protects glue and materials from damage.
Rinse Until No Soap Remains on Cleats
Rinse your cleats thoroughly with warm water, making sure you’ve washed away every last bubble from the uppers, soles, and seams. Run your fingers across the surface to check for any slick, soapy residue hiding in toe boxes or around laces, since leftover soap will only attract more dirt next time you’re on the field.
Give them one final gentle pass with clean water, then you’re ready to let them dry properly.
Recommended Products
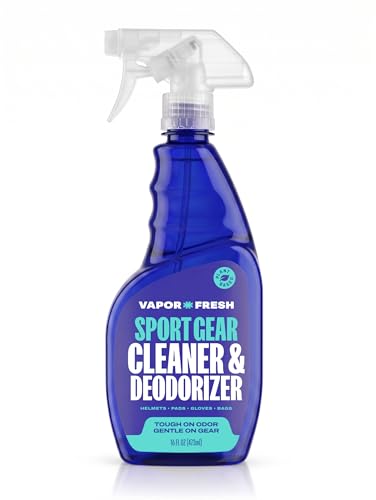
Clean And Deodorize Sports Equipment: Effective at eliminating odors from helmets, gloves, bags and other sports pads. Perfect for boxing, hockey, football, MMA, lacrosse, soccer, volleyball, kickboxing and more
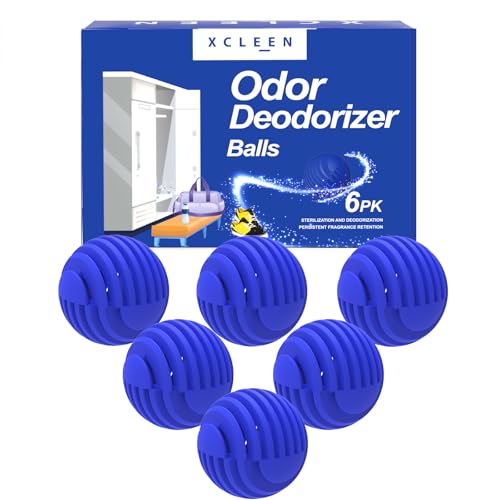
Escape Scent: From lemon top notes to a musky finish, this scent neutralizes odors and leaves your shoes feeling renewed

EXTREME ODOR ELIMINATOR: Unlike a masking room spray, FunkAway Odor Eliminator for strong odor attacks tough odors at the source, acting as a powerful odor remover for shoes, pet beds, sports gear, trash cans, and hard-to-wash bulky items
Rinse Thoroughly
Thoroughness is your friend when you’re washing away every last trace of soap from your cleats. You’re rinsing until the water streaming off runs clear, not cloudy, which tells you the job’s done right. Keep that water pressure gentle; you don’t want to blast apart glue or stitching that’s holding everything together.
Work your fingers into crevices and around the toe box where suds love to hide. Pull laces aside and lift insoles to flush out trapped soap that breeds odor and mold. Tilt cleats at angles to let gravity pull water through instead of pooling inside.
Patience here saves you trouble later. Soap left behind attracts fresh dirt like a magnet, so take the extra minute now. Your cleats will thank you with longer life and fresher smell.
Check for Residue
Once you’ve scrubbed your cleats clean, you’ll want to make sure no soap sneaks behind to cause trouble. Grab your cleats and rinse them thoroughly with warm water, watching closely until every bubble disappears. Leftover residue acts like a dirt magnet, so you’ll be back to square one before you know it.
Check the tricky spots where soap loves to hide: the toe box, sides, and tongue. Run your fingers along these areas to feel for slippery spots. Peek between the studs and into crevices, rinsing multiple times if needed. Hidden suds can irritate your skin during a big game, and nobody wants that distraction.
Do this rinsing in a well-ventilated spot. Good airflow helps your cleats dry faster and keeps them game-ready.
Final Water Pass
How do you know when your cleats are truly soap-free? You’ll need to give them a final water pass that leaves zero suds behind. After cleaning, rinse thoroughly with warm water until every bubble disappears from all surfaces.
Don’t forget these hidden spots where soap loves to hide:
- Inside the toe box, where grime builds up during slides
- The sides and crevices between panels
- The outsole tread, deep in those rubber grooves
Use a gentle stream and avoid pooling water, since too much moisture can weaken glue and damage materials. Wipe with a clean damp cloth and check for any filmy residue.
Once you’re certain they’re soap-free, let your cleats air dry completely in a well-ventilated spot before storing or lacing up again.
Air Dry With Tongues Out and Laces Loose
Where’s the best place to let your cleats dry? You’ll want a well-ventilated spot with good airflow, not a cramped closet or damp corner. After your final rinse, loosen those laces completely and pull the tongues way back. This opens up the cleats so air circulates through every inch, speeding up drying time.
Don’t stack your cleats; lay them side by side instead. This prevents uneven drying and keeps the shape intact. Stuff some newspaper or a dry cloth inside to soak up hidden moisture in the toe box.
Skip the dryer and any high heat, which warps glue and cracks materials. Patience pays off here. Let your cleats breathe naturally, and they’ll stay game-ready without creasing or damage.
Recommended Products

【Quality Metal】: the metal hockey drying rack is made of quality metal , sturdy enough to hold your gear.ensuring its durability and strength to securely hold your gear. Designed with a unique structure.
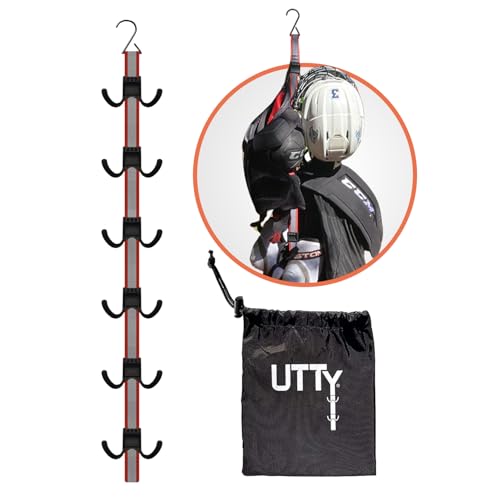
VERTICAL MULTIPURPOSE HANGER RACK: Our UTTY hockey gear drying rack promotes better airflow while keeping equipment organized after every game, practice, or workout. Designed as a dependable sports equipment organizer, it also serves as a reliable gear keeper, versatile sports rack, convenient travel drying rack, and practical solution for gear hanging, helping helmets, gloves, pads, and apparel dry while reducing clutter in small spaces.

【Eliminates Damp & Odor】Optimum heat circulation effectively eliminates moisture, damp, sweat, and odor in shoes. Getting caught in a rain? Don’t be upset. Dr. Prepare boot dryer is ready to restore your soggy shoes to dryness and comfort.
Dry Faster With Fans or Sunlight: Never Heat
Air drying works great, but sometimes you need your cleats ready before the next game. You can speed up air drying without ruining your gear by using smart techniques that protect the materials.
Position a stand-up fan near your cleats or invest in a boot dryer designed for athletic shoes. These tools circulate air efficiently without exposing your cleats to damaging temperatures. You can also harness sunlight by placing your cleats outside for a few hours, just remember to bring them inside before evening dew sets in.
To maximize airflow and speed up drying:
- Remove insoles so they dry separately
- Stuff cleats with newspaper or cloth to absorb moisture and hold shape
- Position cleats where air moves freely around them
Never use hair dryers or toss cleats in the dryer. Excess heat cracks leather and melts adhesive, turning your investment into expensive trash.
Remove Odors With Baking Soda or Charcoal
Why let stinky cleats ruin your post-game celebration? You’ve worked hard, and your gear should smell like victory, not defeat.
Baking Soda: The Overnight Fix
Sprinkle about 2 tablespoons of baking soda inside each cleat, then let them sit overnight. The powder absorbs moisture and odors while you sleep. Shake it out thoroughly before wearing, and you’re ready to roll.
Charcoal and Other Options
Marsheepy charcoal bags work without perfumes, just recharge them in sunlight when they need a boost. For quick results, twist Sof Sole Deodorizer Balls into the toe area; they’ll keep working for six months. Or grab Funkaway Aerospray, mist your cleats, and let them air dry.
Pro Tip
Deodorize your bat bag and locker too. You’re killing bacteria, not just covering smells.
Recommended Products

A handy tool that has plastic brush bristles that remove dirt easily from soccer cleats

【Quality & Soft Bristles】The shoe brush is made of pp and nano soft bristles, wear-resistant and flexible, do not hurt the surface of clothes, shoes and boots, can be used for delicate fabrics.

Heavy-Duty Glove Cleaning Kit: This kit includes one 2-oz tin of baseball glove scrub cleaner plus one horsehair dauber brush and one microfiber cloth
Keep Baseball Cleats Fresh Between Cleanings
You’ve tackled the deep clean, but keeping your cleats fresh day after day is where you really win the game. Start by pulling out insoles and laces after every use. This simple move speeds up drying and stops stink before it starts.
Here’s your between-games game plan:
Between games, a quick routine keeps your cleats fresh, dry, and ready to perform when you need them most.
- Sprinkle baking soda inside your cleats and let them sit overnight to soak up moisture and odors
- Toss in cedar chips or Sof Sole deodorizer balls for extra freshness
- Store them somewhere with good airflow, never stuffed in a dark bag where mold can grow
Speed things up with a fan or boot dryer when you’re short on time. A little daily care keeps your cleats game-ready and your teammates happy. Fresh feet, fresh plays, that’s how you stay at the top of your game.
Recommended Products

IMPECCABLE VICTORY: Our active formula banishes funky odors from your clothing. Sweat X Odor spray doesn't mask odors, it neutralizes them by exfoliating performance fabrics

Cleansing & Refreshing - Keep your feet fresh and clean with Arm & Hammer Shoe Refresher Spray. This sweat-activated odor control spray deodorizes and eliminates odor from shoes, sneakers and sports gear.

EXTREME ODOR ELIMINATOR: Unlike a masking shoe freshener spray, FunkAway Odor Eliminating Spray for shoes attacks tough odors at the source, acting as a powerful odor remover for shoes, work boots, high heels, and other smelly footwear