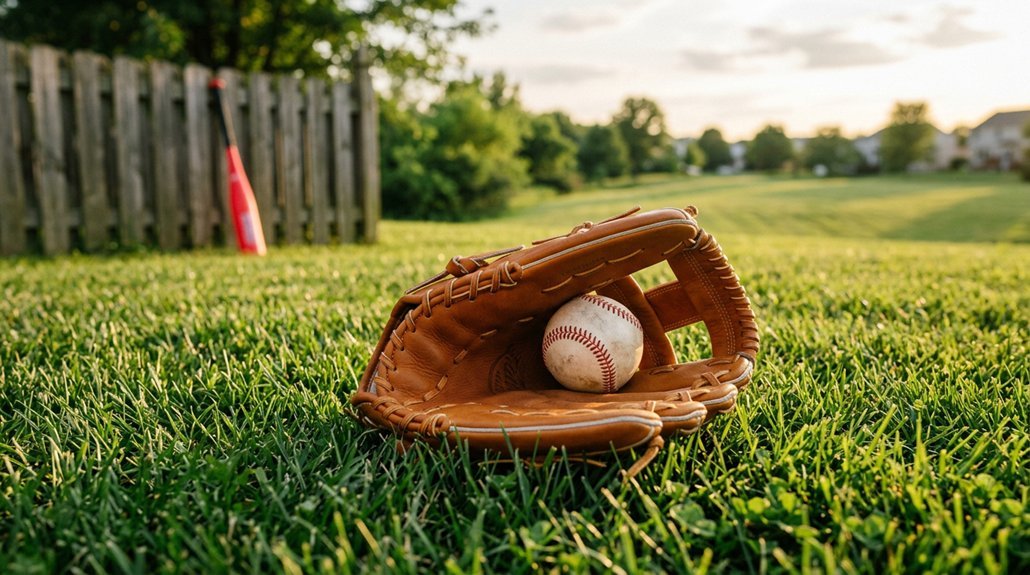
You want your kid to throw with confidence, but where do you even start? Most parents jump straight into playing catch, and that’s where the frustration begins. Small hands struggle with adult grips, wild throws kill enthusiasm, and bad habits form fast.
The right approach breaks everything into five simple steps that build real skill without the tears. You’ll need the right gear, a bit of patience, and a willingness to let a net do some of the heavy lifting. Stick around, and you’ll see exactly how to turn those first wobbly tosses into something that looks like real baseball.
Which Grip Works for Small Hands?
The right grip makes all the difference when you’re teaching a young player to throw. For kids with small hands, you’ll want to start with a 3-finger grip. This places the horseshoe on the outside of the hand, giving them better control and solid finger contact on the seams. It’s comfortable, and it works.
As they grow, you’ll guide them through a grip transition to a standard hold. Eventually, you’ll teach the 4-seam grip for consistency and spin on every throw. Keep their fingertips on top of the ball so they can pull down with a loose, relaxed hold.
This fingertip control boosts both velocity and accuracy without straining their arm. Watch their confidence grow with each proper throw.
Recommended Products

9 Hole Pitching Net: Features 9 separate pitching pockets with an 18'' × 22'' strike zone, this pitching net is a great baseball softball training equipment to improve pitching and throwing target accuracy. Excellent for baseball pitcher training of all ages and skill levels, without needing a catcher

LIMITED EDITION: New exclusive black version of our top selling baseball/softball hitting net for players who want a modern, professional looking piece of training equipment; Makes a great addition to training facilities and at-home practice spaces
Why a Net Beats Playing Catch at First
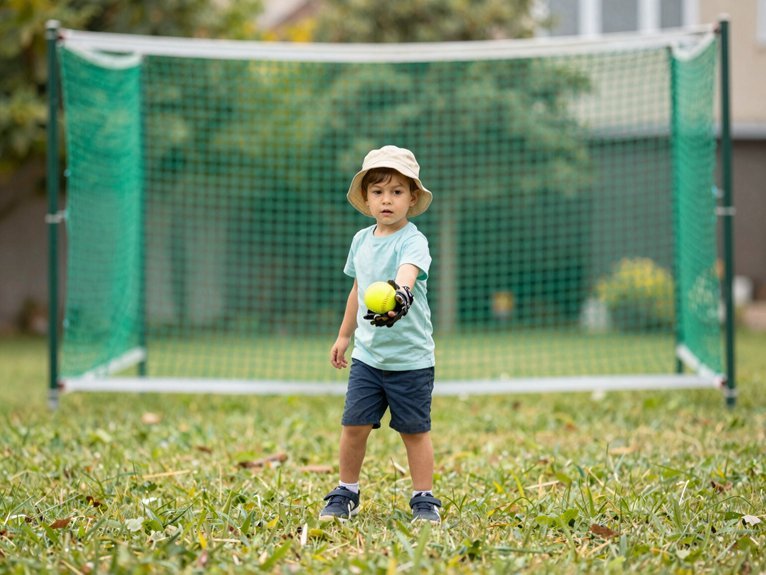
Why start with a net instead of a catch partner? You’re separating the skill of throwing from the pressure of catching, which keeps young players confident and focused.
Separate throwing from catching early on, and young players stay confident, focused, and free to develop proper mechanics without fear of mistakes.
In youth baseball coaching, you’ll find that a net lets kids concentrate on throwing mechanics without worrying about dropped balls or disappointing a partner. They can throw hard, follow through completely, and build athletic habits from day one.
Start close, just ten feet or so, and emphasize throwing through the net with intent. Once throwing accuracy becomes consistent, you can begin distance progression, moving back to 30 or even 45 feet.
Save playing catch for later sessions. You’re building arm strength and proper form first, then layering in accuracy challenges. It’s a smarter sequence that prevents bad habits and keeps practice fun.
Step, Shuffle, Stay Closed: Three Mechanics That Matter
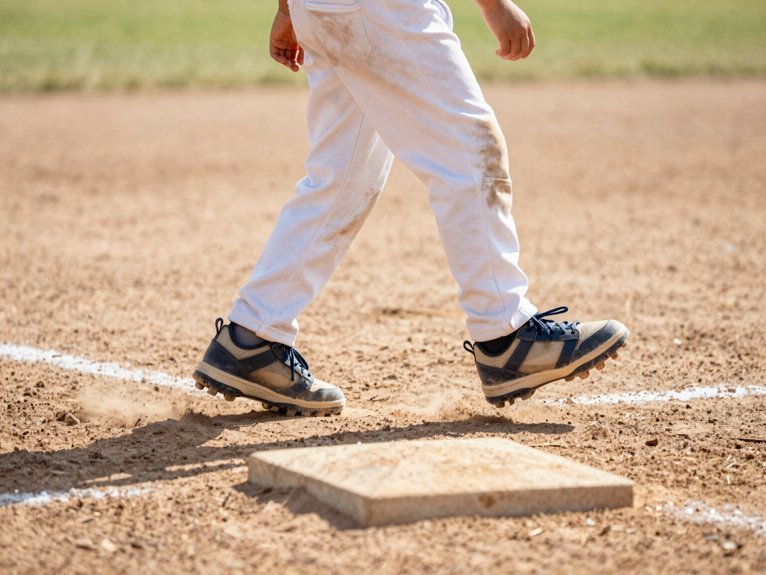
Once your kid’s comfortable throwing into a net, it’s time to connect their feet to their arm. You’re building throwing mechanics that’ll stick, so keep it simple and visual.
- Step: Start with a proper stance, feet shoulder-width apart. Push off the back foot and step forward, letting weight transfer flow naturally into the throw. One motion, no overthinking.
- Shuffle: Add shuffle throwing to mimic real game speed. It’s quick, athletic, and keeps mechanics honest when there’s no time to reset.
- Stay Closed: Keep that front shoulder pointed at the target through release. If the chest opens early, accuracy flies out the window.
- Show, Don’t Tell: Demo each move yourself. Kids mirror what they see faster than they decode instructions.
Recommended Products

EASY BREAK IN: The soft synthetic leather material is lightweight and responsive, making the glove easy and quick to break in so it will be game-ready in no time for baseball, softball, or teeball

SOFT AND LIGHTWEIGHT: The lightweight, soft mesh construction makes this glove easy to use for younger players

DESIGNED FOR YOUTH BASEBALL PLAYERS | Ages 3-5
Fix the Scarecrow: Teach Compact, Powerful Throws
How many times have you watched a young player wind up like a scarecrow, arms flung wide, losing all their power before the ball even leaves their hand? That flailing motion kills accuracy and quickness, and it stresses young shoulders and elbows.
Ditch the scarecrow. Instead, picture a bow and arrow: compact, controlled, and ready to fire. This image fixes your throw mechanics instantly.
Keep your shoulder alignment square to the target. Start with your glove arm up, then pull it tight to your chest as you throw. This builds rhythm and balance through the entire motion.
Your arm action stays short and tight, snapping through release for maximum speed from a stable base. Compact throwing isn’t just safer; it’s faster and more repeatable. Simple visual cues beat complicated mechanics every time.
From 30 to 90 Feet: Building Arm Strength Safely
Before you worry about throwing hard, you’ve got to build confidence up close. Start your youth baseball coaching with throws into a net at 30 feet, building athletic, confident motion without fear of missing. Once they’re hitting consistently, you’ll begin distance progression to 45 feet and beyond.
Here’s your roadmap for safe throwing:
- Master the net first, build arm strength through repetition without chasing wild throws
- Stretch the distance gradually, add 15 feet only when accuracy holds steady
- Track progress with a radar gun, give kids measurable goals and visible improvement
- Split your sessions, separate distance work from accuracy days to protect young arms
Keep throwing mechanics simple with visual cues, not lectures. You’re building habits that last, so stay patient and keep it fun.
Recommended Products

Baseball shoes built for speed on turf.

Aggressive turf outsole provides superior traction on artificial fields
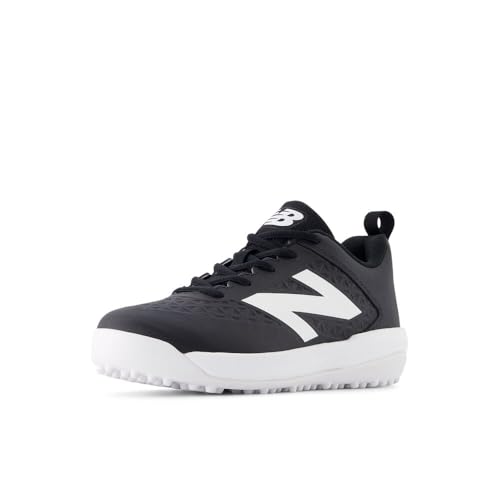
These youth baseball turf shoes are specifically designed for young players developing their skills.