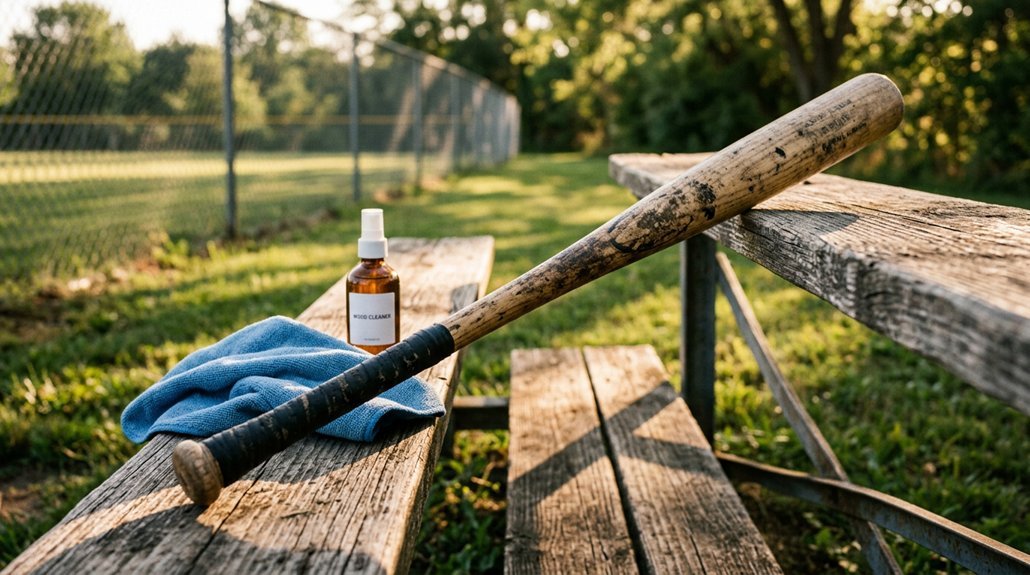
Grab your supplies and meet your bat at the sink. You will learn which common household items work best for wood versus metal, and why one simple mistake could ruin your favorite slugger’s finish.
The dirt hiding on that barrel tells a story. Let us make sure it is a clean one.
What You’ll Need to Clean Your Baseball Bat
Why start cleaning without the right gear? You’ll set yourself up for success by gathering a soft cloth, warm water, mild soap, and a microfiber towel before you begin. These basics handle everyday dirt and grime without harming your bat’s finish.
For stubborn pine tar removal, grab isopropyl alcohol (70–91%) and a plastic scraper or old credit card. A hairdryer on low heat softens sticky residue, making cleanup easier. You’ll avoid wire brushes, harsh chemicals, and soaking, since these damage wood and finishes.
After washing, dry thoroughly with your microfiber towel. Moisture lingers where you can’t see it, so don’t rush this step. Your bat stays game-ready longer when you treat it right.
Recommended Products

Louisville Slugger Genuine MIX Unfinished Natural Clear Baseball Bat - 33

DESIGNED FOR ADULTS AND KIDS AGES 13 AND UP, the Big Stick Elite 243 Maple Wood Baseball Bat is constructed from the finest materials and is durable to keep up with your level of play
Wipe Down and Clean the Barrel by Material
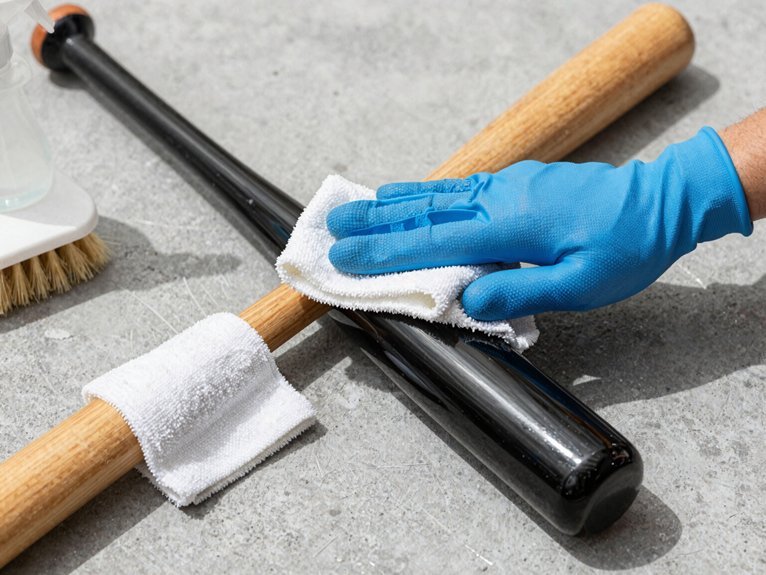
Now that you’ve gathered your supplies, it’s time to tackle the barrel itself. You’ll clean your bat differently depending on whether you’re swinging wood or metal, so let’s break down both approaches.
Each material has its own quirks, and treating them right keeps your bat ready for seasons to come.
Recommended Products

Complete 6-Piece Glove Care Kit for Leather Gloves: Includes Glove Cleaner (8oz), Glove Oil (8oz), Leather Conditioner (3.38oz), 2 applicator pads, and a premium microfiber cloth for full glove maintenance.

Heavy-Duty Glove Cleaning Kit: This kit includes one 2-oz tin of baseball glove scrub cleaner plus one horsehair dauber brush and one microfiber cloth
FAST RESTORATION – Sarna’s Baseball Glove Break-In Kit does more than just clean. It pairs a non-darkening conditioner with a soft applicator brush to help new leather feel game-ready sooner, while keeping the pocket flexible and the laces from drying out between practices, tournaments, and travel days all year long.
Wood Bat Cleaning
How do you keep your wood bat looking sharp and performing its best? Start your gentle cleaning routine by grabbing a dry microfiber cloth and wiping away loose dirt. For stubborn marks, lightly dampen that cloth with warm water and a touch of mild soap.
Work carefully, following the wood grain to avoid scratches. Never soak your wood bat; moisture and timber aren’t friends. After washing, dry immediately with a soft towel, then let it air dry completely before your next at-bat.
- Wipe with a dry microfiber cloth first
- Use minimal moisture and mild soap only when needed
- Follow the grain direction during cleaning
- Dry thoroughly and air dry fully before storage
- Apply conditioner or wax to protect and extend the life
Metal Bat Cleaning
Where should you start when your metal bat’s looking a little worse for wear? Grab a microfiber cloth and mix up some mild soap and water for the safest cleaning combo.
Start by wiping the barrel to knock off loose dirt, then gently rub any ball marks with your cloth, following the grain patterns if you spot them. Rinse away soap residue with a clean, damp cloth, and dry your baseball bat immediately to avoid water spots or corrosion.
For stubborn stains, use a hard-bristle toothbrush or foam stain-removing sponge, but keep scrubbing under 15 seconds to avoid scratches. Never dunk your metal bat in water or blast it with harsh chemicals.
Store it completely dry, and skip extreme temperatures. Your bat will thank you with seasons of solid hits.
Remove Scuffs, Ball Marks, and Surface Stains
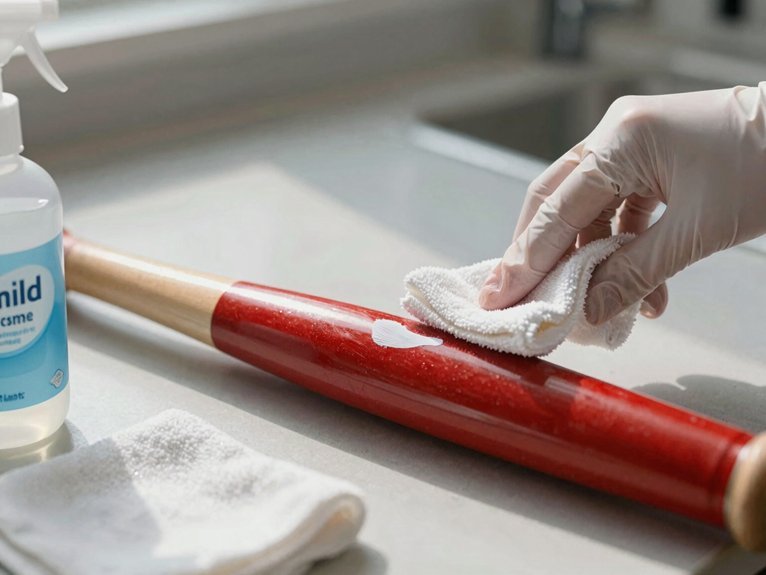
You’ll tackle stubborn marks with three proven techniques that work for any bat in your bag. Grab a magic eraser first, dampen it slightly, and work those scuffs in small circles with light pressure to lift dirt from cracks and surface grooves.
For tougher ball marks, you’ll switch between a gentle soapy water wash or a careful alcohol dab, depending on whether you’re cleaning aluminum, composite, or wood.
Recommended Products

Excellent Cleaning Performance: Our cloths are made of microfiber material, which has outstanding water absorption and oil absorption abilities; whether it's for household cleaning or car care, our towels can easily remove dirt, dust, and stains

Unparalleled Cleaning Performance: Our microfiber towels provide outstanding water absorption and adhesion; effortlessly absorb dirt and liquid, delivering exceptional cleaning results that will leave your car looking brand new
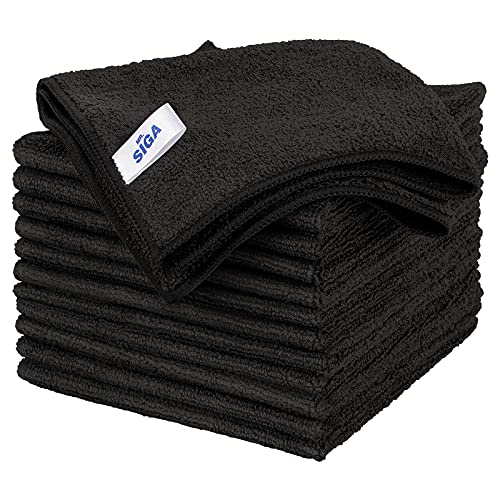
ULTRA SOFT MATERIAL & SCRATCH FREE - Ultra soft and highly absorbent microfiber cleaning cloths, great for cleaning windows, kitchenware, car or other delicate surfaces.
Magic Eraser Technique
When your bat’s picked up more scuffs than a rookie’s first day, the magic eraser becomes your go-to cleanup hitter. You’ll tackle dirt that’s buried deep within the bat surface and cracks by dampening the magic eraser with water to activate its cleaning power.
Work in a circular motion using fast movements and firm pressure, but keep that gentle touch throughout so you don’t damage the finish. Spend about 10 to 15 seconds on each stubborn area, this method grabs grime that soap and water miss.
Once you’ve finished, wipe down and dry bat completely before storing or swinging, moisture left behind causes problems you don’t want.
- Activate the eraser with a small amount of water
- Target deep-set dirt and surface stains
- Use circular motion with controlled speed
- Maintain gentle touch to protect the finish
- Dry bat thoroughly after cleaning
Alcohol Treatment Method
How do you knock out those stubborn scuffs and ball marks that refuse to budge? You’ll tackle them with the alcohol treatment method, a reliable approach for stain removal and tar removal on your bat’s surface.
Grab a clean cloth and dampen it with isopropyl alcohol (70–91%). Never pour directly onto the bat; that risks damage. Instead, apply the cloth method by rubbing in small circular motions, lifting grime as you go. Switch to a clean cloth area periodically so you don’t re-deposit residue.
For stubborn spots, gently use a plastic scraper or old credit card to lift buildup without harming the wood finish. Once you’ve cleared the marks, wash the area with warm water and mild soap, then dry thoroughly. Your bat’s ready for the next at-bat.
Soapy Water Approach
If you’re looking for a simple, no-fuss way to clean your bat, grab a bucket and some mild dish soap. Fill it with warm water, soak a soft cloth, and you’re ready to tackle surface grime on your baseball bat.
This soapy water method loosens scuffs and ball marks without harsh chemicals. You’ll scrub gently, rinse, then dry thoroughly with a dry cloth before checking for missed spots. Pay extra attention to the grip area; that’s where dirt hides most.
- Mix mild dish soap with warm water in a bucket
- Use a soft cloth or sponge to apply soapy water
- Scrub gently to lift scuffs and stains
- Rinse and wipe with a dry cloth immediately
- Let the bat air dry completely before use
Clean the Handle and Remove Pine Tar Buildup
Where does all that sticky gunk on your handle come from? That’s pine tar buildup from your gloves and hands, and it’s time to tackle it head-on.
Target the Tar
Grab your alcohol-based method and go to work. Dampen a cloth with 70–91% isopropyl alcohol and rub that tar in small circles until it lifts away. You’ll see the sticky stuff surrender pretty quickly.
Switch to a clean section of your cloth and wipe off any remaining residue. Then wash the area with warm water and mild dish soap to remove the alcohol and any last traces. Don’t rush this step, it’s worth doing right.
If It’s Stubborn
Hit a tough spot? Warm it with a hairdryer on low, then wipe. Repeat until you’ve won the battle.
Dry thoroughly and admire your clean grip.
Recommended Products

Get A Salon Quality - Achieve salon-style natural curls from the comfort of home with the hooded dryer attachment. It's perfect for heat styling, deep conditioning, and hair oil treatments using rollers, flexi-rods, or curl-formers. The bonnet features a long hose, adjustable velcro strap, and compatibility with your hair dryer, providing freedom for multitasking.
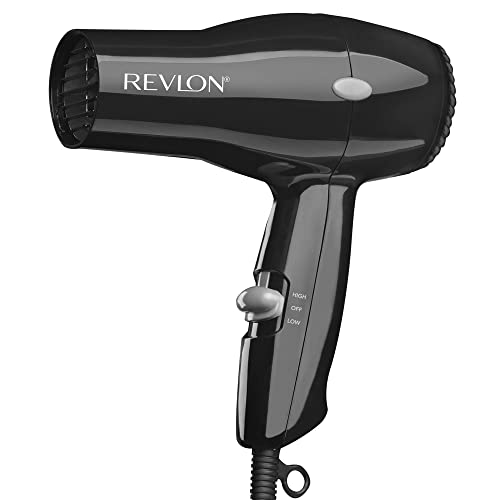
Compact Dryer. Easy, Everyday Use

Get A Salon Quality - Simply hook up the long, flexible drying hose to your hair dryer, wrap the net plopping cap for drying curly hair around your head and adjust the comfortable fit, and let the hair dryer blow and dry out your hair safely while you’re putting on your makeup or getting the day started off on the right foot.
Dry the Bat Thoroughly Before Storage or Use
Once you’ve wiped away that last bit of pine tar, you’re not quite done. Grab a dry towel and blot every surface to banish remaining moisture, paying special attention to joints and the handle where dampness loves to hide.
- Wipe firmly with a clean, absorbent towel to achieve complete dryness
- Air-dry your bat in a cool, shaded spot, never direct sunlight
- Check wood bats extra carefully, as prolonged wetness invites cracking
- Inspect the barrel and knob, ensuring zero moisture remains
- Confirm absolute dryness before storage to prevent warping
You’ll thank yourself later when your bat stays straight and strong. Rushing this step risks swollen grain, rusted hardware, or a grip that slips at the worst moment. Take the time now, and your equipment stays game-ready.
Recommended Products

DESIGNED FOR BASEBALL/SOFTBALL FIELDING PRACTICE | Ultra-lightweight fungo bat designed for fielding practice

Craft Quality

Glass Fiber Reinforced Taper And Handle: Glass Fiber Wrap Added To The Handle And Taper To Increase The Strength And Durability Of The Bat
Condition Wood Bats and Store All Bats Properly
Why stop at clean when you can keep your bat performing like new? You’ve washed it with mild soap, water, and a soft cloth. Now grab Bat Conditioner or a leather-safe product, work it into the wood, and protect that finish between uses. This conditioning step keeps your grip solid and the surface smooth.
Rub out any dings against another bat before storing. Don’t let moisture linger: dry your bat completely, then stand it knob-up in a cool, dry spot. Extreme heat or cold will crack or warp the wood, so skip the car trunk or garage shelf.
You’ve done the hard work. Now let proper storage lock in those results. Your bat stays game-ready longer, season after season, with just these simple habits.
Recommended Products

Includes 1 large brush, 2 dauber brushes, and 2 microfiber cloths. Use large brush for overall cleaning and shine, use dauber brushes to access hard-to-reach areas. Use Cloths to wipe down glove

Sport type: Softball

Complete Glove Cleaning Kit: Includes one baseball glove scrub (2oz), one 8oz bottle of gentle baseball glove cleaner, one large horsehair brush, two dauber brushes, and two microfiber cloths