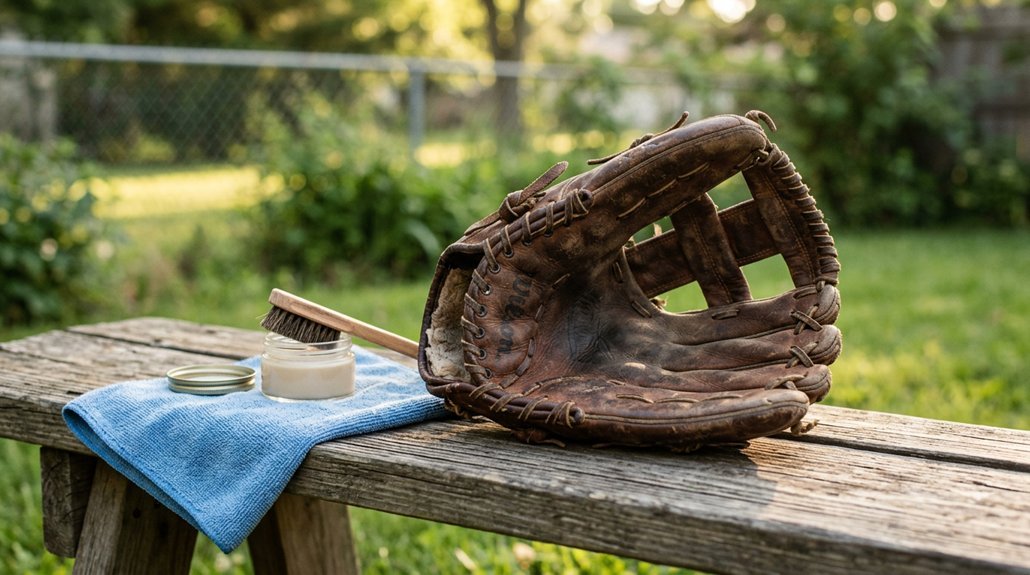
Your baseball glove takes a beating every season, and dirt, sweat, and grime slowly break down the leather you depend on. You might think a quick wipe-down does the job, but hidden damage builds up in the pocket and laces where you can’t see it. The right cleaning routine protects your investment and keeps that pocket deep and responsive.
You’ll need to know when a five-minute refresh works and when it’s time for the full treatment. Let’s walk through exactly what your glove needs to stay game-ready.
Clean Your Glove in 5 Minutes (Quick Method)
Why let a dusty glove drag down your game? You’ve got five minutes, and that’s all this quick method needs to get you back on the field with confidence.
Grab a soft brush and knock off loose dirt from seams and crevices first. Mix a mild soap solution, dampen a soft cloth, and wring it nearly dry. Work in circular motions across the leather, hitting both exterior and interior surfaces where sweat hides. Don’t soak the glove; you’re cleaning, not drowning it.
Pat with a towel, then air dry away from heaters or sunny windows. Once dry, rub in a little leather conditioner to keep the pocket soft and responsive.
This glove cleaning routine won’t tackle deep grime, but it’ll freshen things up fast between games.
Recommended Products

Includes 1 large brush, 2 dauber brushes, and 2 microfiber cloths. Use large brush for overall cleaning and shine, use dauber brushes to access hard-to-reach areas. Use Cloths to wipe down glove
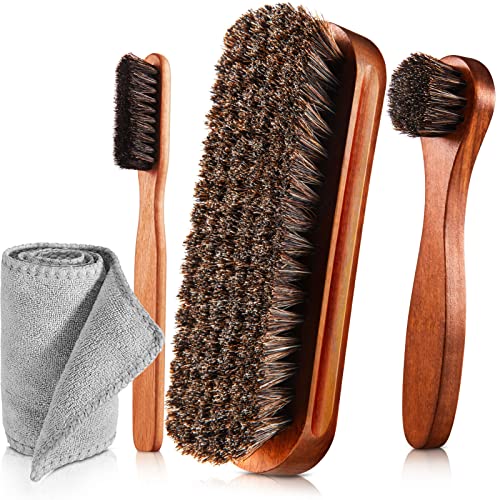
Shoes Shine Brush Set - There are 1 x large size shine brush, 1 x long handle horsehair brush, 1 x detailing shoe brush and 1 x microfiber buffing cloth

Package Content: The package includes 2 salve brush for furniture and 1 pair of gloves, designed to deeply clean various types of leather furniture. This helps extend the longevity of your furniture and other leather items. (Salve not included.)
Deep Clean: Remove Embedded Dirt and Grime
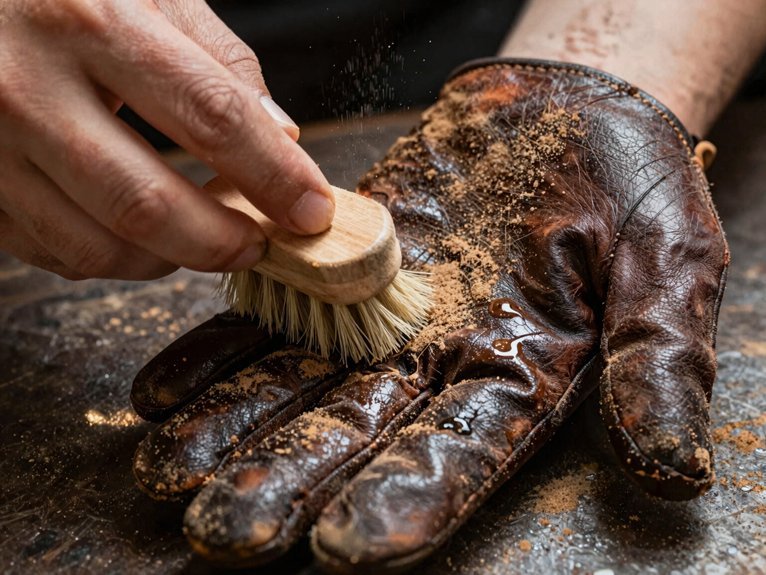
When’s the last time your glove got more than a quick once-over? Let’s dig into the embedded grime hiding in those seams.
Grab a soft-bristle brush and sweep away loose dirt from crevices. Mix a mild soap solution with warm water, then dampen a cloth and wring it out well. You don’t want soggy leather.
Work in circular motions across the surface, targeting stubborn spots with gentle pressure. Rinse residue with a clean damp cloth.
Patience pays off here. Let your glove dry completely in a cool, shaded spot, never near heat. Once it’s ready, massage in leather conditioner to restore flexibility and lock out future grime. Your glove will thank you with seasons of reliable performance.
Recommended Products

COLOR-SAFE SOFTNESS – If keeping the original color of your glove is important to you, look no further. Trusted by players and coaches alike, our Sarna glove conditioner nourishes leather without darkening. Reds, blues, pinks, and other modern glove colors will stay true. Fast-absorbing care keeps the pocket flexible and game-ready, with no greasy feel.

COLOR-SAFE SOFTNESS – If keeping the original color of your glove is important to you, look no further. Trusted by players and coaches alike, our Sarna glove conditioner nourishes leather without darkening. Reds, blues, pinks, and other modern glove colors will stay true. Fast-absorbing care keeps the pocket flexible and game-ready, with no greasy feel.

Heavy-Duty Glove Cleaning Kit: This kit includes one 2-oz tin of baseball glove scrub cleaner plus one horsehair dauber brush and one microfiber cloth
Clean Inside the Glove and Pocket
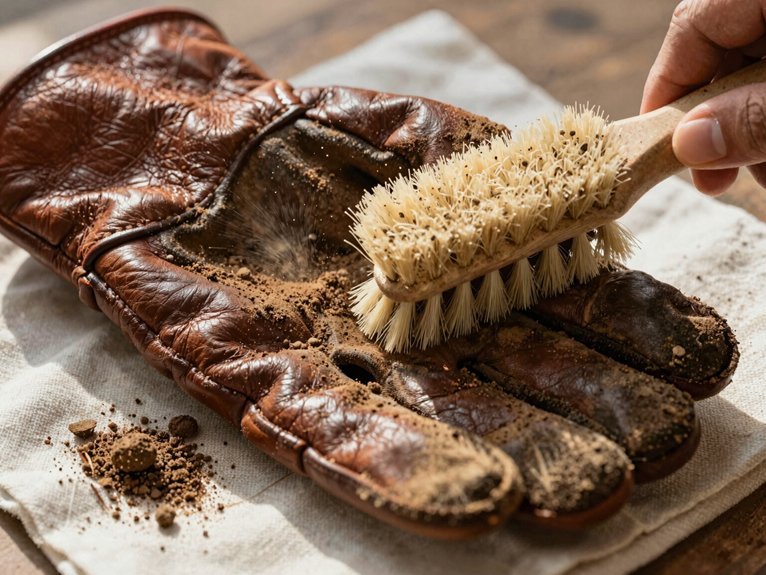
Now that you’ve tackled the exterior, it’s time to focus on the spots where your hand actually lives while you’re making plays.
You’ll start by wiping the hand stalls with that same damp cloth and mild soap solution, taking care to lift any stubborn dirt hiding in the finger stalls, and avoid soaking the leather.
Finally, give the pocket some attention by clearing out debris and gently cleaning those seams, which keeps the glove flexible and ready for your next scoop.
Recommended Products

10x GRIP-ROOT WEAVE - TRAP MORE, WORK LESS: Ultra-absorbent microfiber towels for car Grip Root weave works like PLANT ROOT FOLLICLES, sucking up & LOCKING AWAY 8x to 10x its weight in liquid, particulates, moisture, grime and dirt in far LESS TIME than traditional ‘Heavy Duty’ Cleaning Rags. Each towel features a 2.5mm thick design, providing enhanced durability and better grip during use.

Gentle on Every Surface, Trusted by Pros: From hardwood to chrome, glass to granite, these ultra-soft microfiber mitts won’t scratch, streak, or shed. Pros reach for them when nothing else will do because delicate surfaces deserve serious care, not guesswork

Unparalleled Cleaning Performance: Our microfiber towels provide outstanding water absorption and adhesion; effortlessly absorb dirt and liquid, delivering exceptional cleaning results that will leave your car looking brand new
Wiping Hand Stalls
Flip your glove inside out as much as you can, don’t worry, it won’t bite, and grab a soft, clean cloth. You’re ready to tackle the glove interior where sweat and oils hide. Start with the pocket area to lift dirt away from the wear surface, then move to the walls.
Focus on the hand stalls, those spots where your palm rests during every catch. Wipe firmly with your soft cloth to remove built-up grime. For stubborn residues, dampen the cloth slightly with water or mild soap, but don’t soak anything. Too much moisture stretches leather and weakens laces.
These cleaning steps protect your investment and extend your glove’s life. Once finished, let it air dry completely before conditioning or storage.
Cleaning Finger Stalls
Why stop at the palm when your fingers do most of the gripping? Your glove interior needs attention too, especially those finger stalls where sweat and dirt love to hide.
Grab a soft cloth and dampen it with water and mild soap. You’re cleaning the finger stalls now, working in circular motions to lift grime without soaking the leather. Don’t drench it, just enough to wipe away buildup that causes stiffness and funky odors.
Hit stubborn spots with a soft-bristled toothbrush, but go easy on those stitched seams.
Once you’ve covered every finger stall and the pocket area, let your glove air dry completely away from heat. Skip the conditioner until it’s bone dry. Your fingers will thank you next game.
Pocket Debris Removal
Where does that ball go when you snag a line drive? Right into the glove pocket, where dirt, grass, and sweat collect game after game. Now it’s time for interior cleaning and debris removal.
Start with a brush or soft cloth to sweep loose dirt from the finger stalls and seams. Use that damp cloth to wipe away built-up grime, but don’t soak the leather.
Here is what you’re protecting:
- Your grip on every grounder to the hole
- The leather that’s broken in just for your hand
- That confidence when the ball pops into your pocket clean
For hard-to-reach areas, grab a soft toothbrush and gently work the creases and laces. You’ve done the work, so let your glove air dry completely at room temperature before conditioning or storing.
Condition the Leather to Prevent Cracking
Once your glove has dried completely at room temperature, you’re ready to choose the right conditioner and apply it sparingly and evenly across the leather surface. You’ll want to pick a product specifically designed for baseball gloves that forms a protective barrier rather than just leaving oily residue, since this helps prevent cracking while maintaining flexibility.
After conditioning, dry and store your glove properly by keeping it away from direct heat and allowing the treatment to absorb fully, which protects your investment and keeps the leather game-ready for seasons to come.
Recommended Products
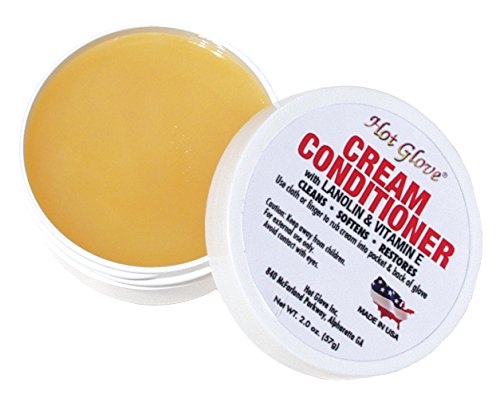
Safeguard Your Glove with Hot Glove Cream Conditioner: Discover the ultimate defense for your glove with Hot Glove Cream Conditioner – a safe, easy, and highly effective solution to protect and preserve your prized gear.

The Ultimate Glove BreakIn Kit Includes: Glove Oil (8 oz), Glove Rub Conditioner (2 oz), Baseball Glove Mallet, Baseball Glove Wrap, Horsehair Dauber Brush and Microfiber Cloth

[Easily Holds Your Essentials]: Carry baseball's legacy when you use Fielder's Choice Goods Brown Leather Ultra Thin Card Holder Wallet; 0.5-inch (1.3cm) depth fits your shirt or pants pockets or purse
Choose Right Conditioner
How do you keep your glove from turning into a dried-out husk? You grab the right glove conditioner for your leather type. Cowhide and steerhide each need different formulas, while specialty leather demands extra care. Check those manufacturer instructions before you buy. You want something that’ll penetrate deeply without causing damage.
Here’s what matters most:
- Match your leather type, because cowhide craves lighter oils than dense steerhide
- Read labels carefully, so you don’t ruin that premium specialty leather
- Trust proven brands, since your glove deserves protection that actually works
You’ll use a clean cloth to evenly distribute the product later, and you’ll avoid oversaturation to protect your laces. Pick wisely now, and your glove stays game-ready for seasons to come.
Apply Sparingly Evenly
After you’ve picked the right conditioner, it’s time to treat your glove with a little TLC. Start your glove conditioning by putting a small amount of leather conditioner on a clean cloth. You’ll want to apply sparingly, using thin, circular motions for even distribution across the entire surface. Work it into the leather gently, paying extra attention to creases and high-stress areas.
Avoid over-application at all costs. Too much product leaves a greasy residue that attracts dirt and actually hurts performance. Remember, you can always add more later if needed.
Once you’ve finished, let your glove air dry completely. Give the conditioner at least 24 hours to penetrate fully before using or storing it. This patience pays off, helping prevent cracking and keeping your leather game-ready for seasons to come.
Dry Store Properly
The right storage routine keeps your glove ready for action season after season. After glove cleaning, you’ll need to air dry your equipment completely before moving forward.
Never rush this step, because avoid direct heat like radiators or sunny windowsills, as they’ll warp the leather and ruin your hard work. Once dry, reach for your leather conditioner to restore flexibility and stop cracks before they start. This step matters more than you’d think, and skipping it leads to stiff, brittle leather that betrays you mid-game.
For proper moisture prevention, tuck a glove form inside to preserve that perfect pocket shape you broke in. Then stash everything in a cool dry place with good airflow. Your future self will thank you when opening day arrives.
- Feel the satisfaction of leather that bends, not breaks
- Trust your glove form to hold the pocket you perfected
- Rest easy knowing moisture prevention protects your investment
Dry Your Glove Completely (24+ Hours)
Once you’ve finished cleaning your glove, you’ll need to give it plenty of time to dry out properly. Glove drying requires patience, and you’ll want to air dry naturally for at least 24 hours. Start your moisture removal with a quick towel blot to soak up excess water without rubbing the leather raw.
Position your glove in a vented area where air circulates freely, and avoid heat sources like radiators or sunny windowsills that’ll crack and stiffen the leather. Keep the pocket propped open using a ball, mallet, or glove wrap so it keeps that game-ready shape while drying. Check the palm and interior thoroughly. The leather must reach complete dry before you add conditioner or head back to the field. Rushing this step invites mold and ruins your glove’s longevity.
Recommended Products

BATTING GLOVE HANGER DESIGNED FOR BASEBALL/SOFTBALL PLAYERS

SAVE YOUR GLOVES: These easy to use batting glove inserts help dry sweat and eliminate odor to increase the lifespan of your gloves and keep them fresh and clean year after year
BREAK-IN ASSISTANT | Designed to help break-in any baseball or softball glove
Store Your Glove to Maintain Its Shape
Whether you’ve just finished a game or you’re putting your glove away for the offseason, proper storage keeps your leather game-ready and extends its life. Remove the glove from your bag immediately when you get home to prevent sweat buildup and deterioration. Store the glove flat on its palm or with fingers up to maintain its pocket shape and promote airflow for drying.
Use glove wraps or a ball fixture to help preserve pocket shape during storage. Keep the glove in a warm, dry place away from direct sunlight, vents, radiators, and excessive heat to prevent drying and cracking. Consider protective storage options like a hard-shell Glove Guardian case or a glove wrap to shield the glove from deformation during transport.
Glove maintenance isn’t glamorous, but it pays off. Here’s how to protect your investment:
- Feel the satisfaction of a perfectly formed pocket every time you field a ball.
- Rest easy knowing your glove won’t crack or warp from careless storage.
- Take pride in equipment that looks sharp and performs season after season.
Recommended Products

HIGH QUALITY - Premium horsehair brushes, crafted from natural European beech wood and effectively hard horsehair, ensure superior cleaning, polishing, and shine. They effectively address wear and fading, delivering a thorough polish and brilliant shine

HIGH QUALITY - High-quality horsehair brushes are trusted by professionals. Made of European beech wood and horsehair of effective hardness. Can be well cleaned, polished and shiny. Will not scratch the surface.

4 IN-1 LEATHER CARE KIT: This all-in-one mink oil kit includes 3.52oz premium mink oil, a luxurious beechwood horsehair brush, custom hand-held sponge and microfiber cloth. No extra tools needed—It gently cleans, conditions and nourishes leather to a smooth, supple finish. Compact and portable for easy use at home or on the go, it also makes a thoughtful and practical gift for the one you love most.