Like a batter stepping up to the plate, you’re facing a challenge that looks simple until you’re in the thick of it: your kid’s helmet smells like a locker room had a bad day. Don’t worry, you’ve got this.
Cleaning a baseball helmet isn’t rocket science, but doing it right protects both the shell and your nose. Stick around, and you’ll learn exactly how to knock dirt and odor out of the park.
Choose Safe Cleaners for Your Baseball Helmet
Before you grab whatever cleaner is under your kitchen sink, take a moment to think about what you’re actually spraying onto your helmet. Baseball helmets need special care, and harsh household chemicals can wreck the shell or break down the foam inside.
Stick with safe cleaners made for sports gear, like Vapor Fresh Sports Cleaning Spray. These formulas clean without the abrasive stuff or high-alkaline detergents that scratch surfaces and degrade padding. You’ll protect your investment and keep your helmet game-ready.
Skip the dishwasher or washing machine, too. Heat and agitation warp shells and ruin padding faster than a rain delay. For quick interior freshening, spray the inside with your sport cleaner, wipe it down, and let it dry completely. Your helmet, and your head, will thank you.
Recommended Products
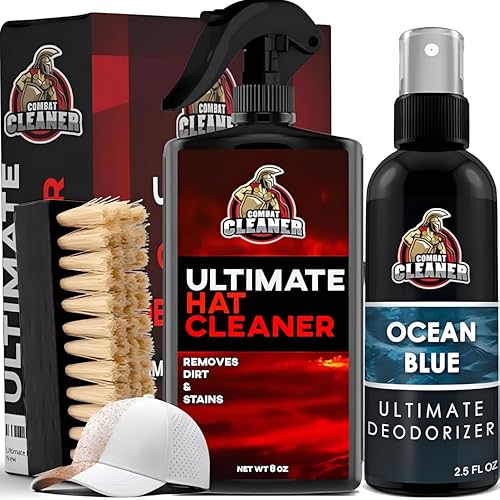
𝗔𝗟𝗟-𝗜𝗡-𝗢𝗡𝗘 𝗛𝗔𝗧 𝗖𝗔𝗥𝗘 𝗞𝗜𝗧 — Our complete 3-piece hat cleaning kit includes a powerful cleaning solution to break down sweat and grime, a soft-bristle brush to safely lift stains, and a deodorizing spray to remove odors and refresh your hats. Everything you need to clean, restore, and maintain your caps in one simple kit.

Hat Cleaner Kit Brings Your Hats Back To Life - Breathe new life into your headwear with this premium hat cleaner for baseball caps hat cleaning kit. Our high-performance baseball hat cleaner is engineered as a powerful cap cleaner to lift dirt, grease, and grime. This hat cleaner kit serves as a total hat stain remover, restoring the original texture of your favorite caps so they look brand new again.
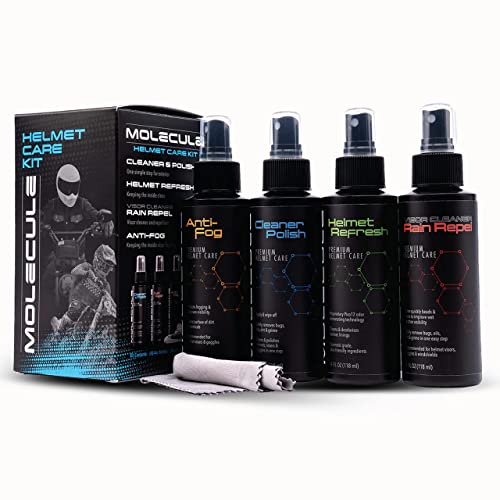
Cleans and polishes helmets, visors in easy application
Check If Your Helmet Padding Is Removable
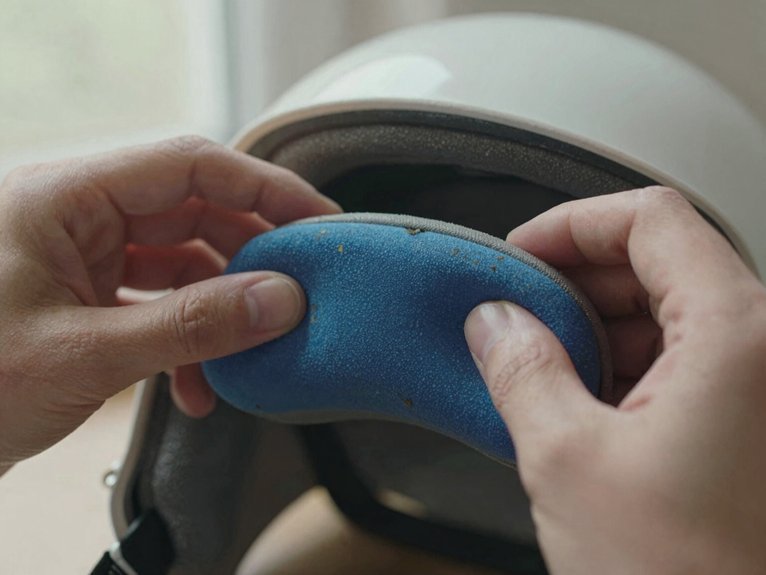
Once you’ve picked out a safe cleaner, you’ll want to figure out what you’re working with inside that helmet. Check your helmet model and manual to confirm whether you’ve got removable padding.
Locate Your Helmet’s Manual
Flip through your owner’s manual or search the manufacturer’s website. Most modern helmets advertise removable padding as a selling point, but don’t assume, older models might surprise you.
Test the Fit
Gently tug at the inner padding edges. If they peel away with light pressure, you’ve hit the jackpot. If they resist, stop, you’re dealing with fixed padding.
Know Your Plan
Removable padding means you can deep clean each piece separately, letting you tackle sweat and grime more effectively. Fixed padding requires a gentler, surface only approach. Either way, understanding your helmet’s design keeps you from damaging important protective gear.
Recommended Products

Reduces the fit of compatible Velo helmets by two hat sizes

MAXIMUM PROTECTION | ABS thermoplastic shell is engineered to keep hitters safe in the batters box

Batting Helmet Padding Fit Kit: Each package includes 2 pcs side pads, 1 pcs rear pad and 12 pcs adhesive hook and loop strips. Tip: Adding baseball helmet foam padding inside your softball batting helmet can transform an oversize baseball batting helmet into a properly fitting one.
Remove Interior Padding and Surface Debris
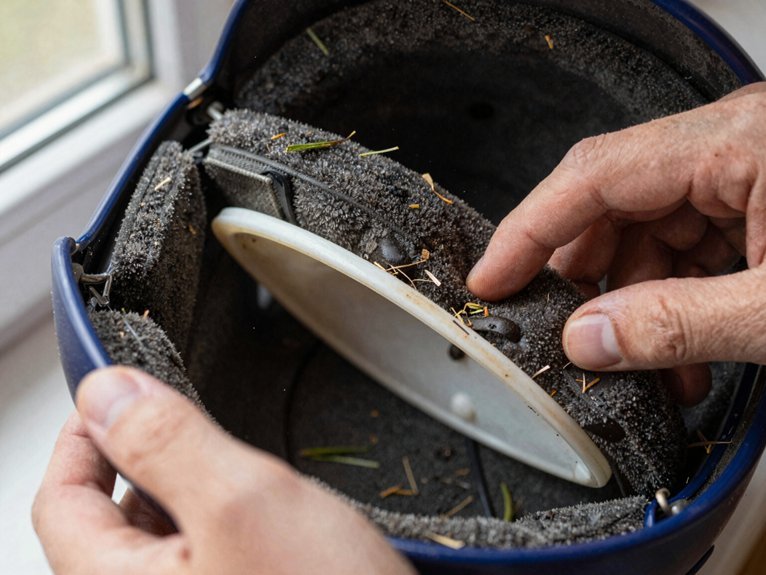
The first step to a truly clean helmet is getting that padding out of your way. You’ve already checked your manual, so now you’re ready to act. Gently detach the interior padding, taking care not to tear any Velcro or snap attachments. Set it aside for later.
With the padding removed, you’ll spot surface debris hiding inside: hair, dust, and that mysterious grit from last season’s slide. Grab a soft brush or dry cloth and sweep it all out. Don’t skip the crevices around the ear holes and crown.
Now you can see the real problem: sweat stains and bacteria buildup. Wipe these interior surfaces with a damp cloth dipped in mild soap. Your helmet’s already smelling better, and you haven’t even started the deep clean yet.
Recommended Products

Odor Stomp for the Win – Tackle the toughest odors from football pads, hockey bags, gym gear, and more. Our powerful enzyme formula works on all your fabric or porous sports equipment, leaving them smelling fresh and clean.

Clean And Deodorize Sports Equipment: Effective at eliminating odors from helmets, gloves, bags and other sports pads. Perfect for boxing, hockey, football, MMA, lacrosse, soccer, volleyball, kickboxing and more
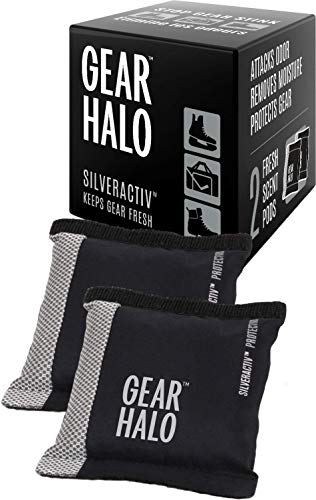
PREVENTS SPORT-STINK - No Charcoal here! Uses SilverActiv protection to stop sport-stink. The fresh scent will leave your gear smelling clean, fresh and ready for next time. Non-toxic and used by the pros.
Clean the Exterior Without Scratching the Shell
You’ll want to grab a damp microfiber cloth and wipe down the shell from front to back, keeping things gentle around those vents and decals. For stubborn gunk that won’t budge, spray on a sports cleaner like Vapor Fresh first, then wipe it away without scrubbing.
Skip the harsh household chemicals and abrasive pads. They’ll chew right through your helmet’s protective coating and leave you with more problems than you started with.
Recommended Products

Size: 6 x 7 " (15cm x 18cm), each item individually packed in a plastics zip bag.

FOR HELMETS & VISORS: Honey, we shrunk our cloths! Designed to provide the ultimate TLC for your lid, our compact cleaning cloth is the perfect choice for freshening up your helmet and keeping your visor streak free!
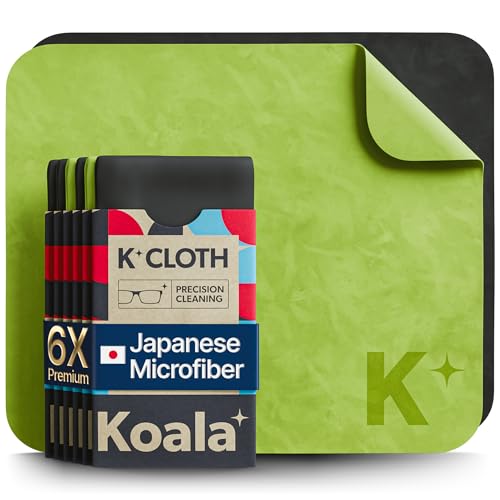
UNPARALLELED CRYSTAL-CLEAR PERFORMANCE: The only obsessively engineered, best-in-class microfiber cleaning cloth, meticulously crafted from proprietary, ultra-dense, super-absorbent Japanese woven fabric, effortlessly absorbing the toughest dirt, grime, and oils - leaving your lenses spotless - every time.
Select Proper Cleaning Tools
Your helmet’s exterior takes a beating from dirt, grass stains, and sun exposure, so picking the right cleaning tools keeps it looking sharp without damaging the finish. Grab a damp microfiber cloth for everyday touch-ups. The soft fibers lift grime without scratching, unlike rough towels or paper products.
For stubborn buildup, you’ll want a sports cleaning spray on hand. Products like Vapor Fresh break down tough residue so you wipe it away easily. Skip the household cleaners entirely. Window sprays and bathroom chemicals degrade helmet shells over time, weakening your protection.
Keep your cloth damp, not dripping, to stop water from seeping into vents or seams. This simple toolkit handles both the outer shell and visible vents while keeping interior padding dry for later cleaning steps.
Apply Gentle Cleaning Technique
How should you tackle that grimy shell without turning your helmet into a scratched-up mess? Grab a damp microfiber towel and gently wipe the exterior, letting the soft fibers lift dirt without abrasive scrubbing that scratches polycarbonate or ABS surfaces. Lightly dampen with plain water for routine cleaning, or mist sports cleaning spray onto the towel first when facing stubborn buildup.
During your vents cleanup, carefully clear grass and debris from openings without pushing moisture inside, where trapped dampness causes odor and deterioration. Skip household chemicals entirely; they degrade protective integrity faster than a rookie drops a pop fly.
Finish by buffing with a dry microfiber cloth to banish water spots. Your helmet stays game-ready, scratch-free, and built to protect when you need it most.
Remove Stubborn Debris Safely
Now that you’ve got the basics down, it’s time to knock out the tough stuff. Dampen a microfiber towel with water and wipe the helmet’s exterior to remove loose dirt and debris from vents and the shell. This quick pass clears surface grime without risking scratches.
For stubborn spots, spray a sports cleaning product like Vapor Fresh directly on the shell. Let it sit briefly, then wipe away loosened debris with a soft cloth. You’ll lift caked-on grass and clay without elbow grease.
Skip abrasive cleaners and harsh chemicals; they scratch the shell and degrade materials. Avoid household window, bathroom, or quaternary ammonium disinfectants entirely. These products damage finishes and compromise protection.
Complete your exterior cleaning by drying the shell thoroughly. Moisture left behind invites problems, so take an extra minute with a clean towel.
Wash and Deodorize the Interior Thoroughly
Since the interior padding absorbs the most sweat and grime, you’ll want to tackle it first for the best results. Start your interior cleaning by removing the padding if possible. You’ll either machine wash it or hand-wipe and scrub it separately, targeting built-up sweat for effective odor removal.
If the padding stays attached, rinse it under warm water to flush out sweat and debris. Next, grab a safe sports cleaner like Vapor Fresh and spray the inside surfaces thoroughly. Wipe away the loosened residue with a clean cloth. Skip harsh household cleaners and disinfectants, since they’ll damage foam padding and irritate your skin.
Once you’ve finished, reassemble the helmet and give the interior one final spray with Vapor Fresh. Leave it be, no wiping needed, and you’re all set.
Let Everything Dry Before Reassembling
You’ve scrubbed and sprayed every surface, so don’t undo that hard work by rushing the finish. Let everything air dry in a well-ventilated spot before you put your helmet back together. Patience here pays off big time.
Remove all padding and let it dry completely to stop mold and funky odors. Keep interior surfaces exposed until they’re bone-dry to protect foam and your skin. Hit vents and straps with Vapor Fresh spray, then wait for thorough drying. Check every component by touch, don’t just eyeball it.
Skipping this step invites bacteria, breakdown, and that locker room smell nobody wants. Your gear lasts longer when it’s dry, and you’ll stay comfortable at the plate. Verify everything’s ready, then reassemble with confidence.
Recommended Products

CHOOSE YOUR GAME-DAY LOOK | Available in two Coolflo designs: the original, classic Coolflo or the sleek, pro-inspired Coolflo Max, so young players can choose the style that fits them best

SOLVES 2 MAJOR PROBLEMS: Wrong helmet size? Keep your shell & just swap liner! Dirty/Worn liner? Replace grimy padding in seconds - No washing needed!

Perfect Compatibility: Our universal helmet padding kit is compatible with Easton batter and catcher helmets and fits the contours of their baseball and softball helmets. The pads can also be easily trimmed for a customized fit, making them an ideal choice to replace worn helmet padding, supplement existing helmet liners, or refresh the interior of your favorite helmet
Avoid These Cleaning Mistakes That Damage Helmets
Why risk ruining your lid when a little know-how keeps it game-ready? You can dodge costly damage by steering clear of common cleaning blunders.
Skip the Spray-and-Pray Approach
Don’t blast household cleaners inside your helmet. Window sprays and bathroom cleaners degrade materials fast. You’re also wise to avoid harsh chemicals like quaternary ammonium disinfectants; they wreck shell integrity and interior padding alike.
Keep It Out of the Machines
Never toss your helmet in the washer or dryer. Agitation and heat crush foam padding and warp the shell. That’s a strike you don’t need.
Ditch the Tough Stuff
Abrasive scrubbers scratch polycarbonate surfaces. Strong solvents and citrus cleaners weaken decals and padding. Stick with gentle, helmet-safe solutions instead. Your gear stays solid, and you stay safe at the plate.
Recommended Products

Heavy Duty Odor Control - Arm & Hammer Sport Gear & Shoe Refresher Spray works as hard as you play. The Fresh Guard technology, made with Arm & Hammer Baking Soda, gets tough odors out of sports equipment and shoes. Destroy odor on contact in cleats, skates, pads, helmets, sneakers, gym bags, and more.

Unique Formula: Proudly made in the USA and EPA-registered, Clear Gear protects against bacteria, germs, and odors safely without any harsh chemicals like bleach, alcohol, or ammonia. Clear Gear is a water-based formula that has a low toxicity rating, is non-corrosive to surfaces, and does not leave noxious fumes behind.

PACK CONTENTS: Set of 12 yellow deodorizing spheres designed specifically for sneakers, shoes, backpacks, gym gear, lockers, drawers, and more!