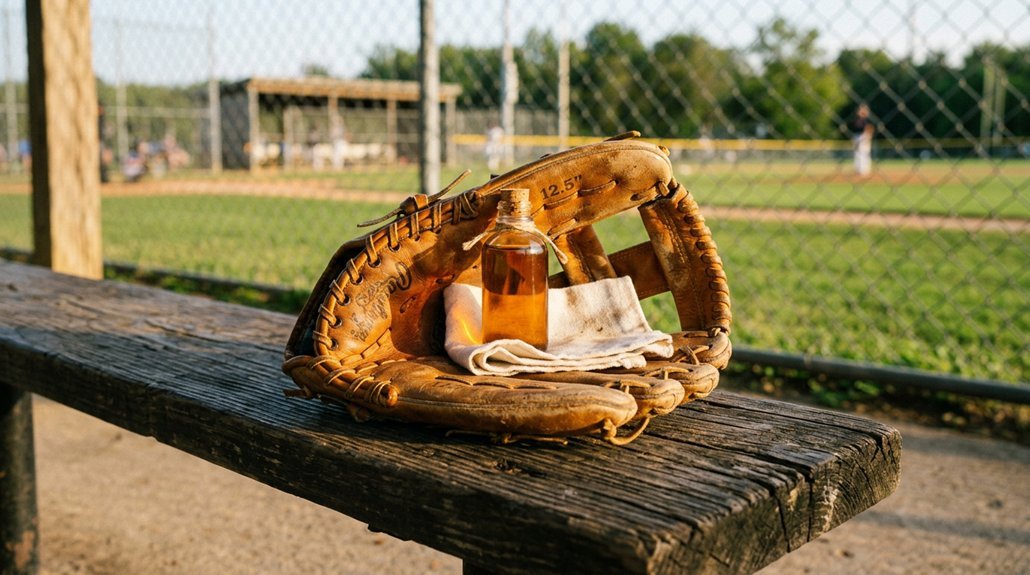
Your glove’s leather is like a thirsty pitcher on a hot day, craving the right care to stay in the game. You’ll bring it back to life with ten straightforward steps that protect your investment and improve performance.
Start by knowing what you’re working with, clean it properly, and choose the right oil or conditioner for your needs. The process isn’t complicated, but skipping steps can leave you with stiff leather or cracked laces. Stick around, and you’ll learn exactly how to make that glove feel game-ready again.
Identify Your Leather Type and Current Condition
Before you grab any oil, you’ll want to figure out exactly what kind of leather you’re working with.
Know Your Leather
Full-grain leather keeps its natural grain and stays tough, but it’ll need consistent conditioning to stay soft. Top-grain feels smoother since it’s lightly sanded, and while it’s durable, it might soak up oils differently than full-grain. Steerhide starts stiff and rugged, so you’ll want rigorous conditioning to stop hardening and cracks.
Full-grain stays tough but needs consistent conditioning; top-grain feels smoother yet absorbs oils differently; steerhide demands rigorous care to prevent cracks.
Kip leather feels finer and more flexible right away, making it a favorite for younger players, though it still benefits from regular conditioning.
Match Your Maintenance
Each type handles moisture and heat differently. Your glove’s current condition matters too: dry leather craves oil, while newer gloves need lighter care. Tailor your maintenance routine to your specific leather, and you’ll keep that pocket ready for seasons to come.
Recommended Products

✨Revive & Protect Your Leather: The Aosdc Mink Oil Kit Is Designed To Thoroughly Cleanse, Moisturize, Shield, And Rejuvenate Your Prized Leather Possessions While Defending Against Daily Damage. As A Professional Mink Oil For Leather Boots And Versatile Mink Oil For Leather, It Is Perfect For Cowboy Boots, Hiking Boots, Sleek Loafers, Motorcycle Jackets, And An Array Of Leather Accessories Like Briefcases, Gloves, Sofas, Car Interiors, Watch Straps.

100% wild-harvested hides from USA

100% Natural Top-grade Full Grain Leather: These leather strip and leather strap are made of full grain leather, it is premium pull-up oil tanned leather with a firm feel. The pores of the leather are tight and uniform, the fullness and flexibility, the gloss, grease and smell are also very good
Clean Dirt and Debris Before Conditioning
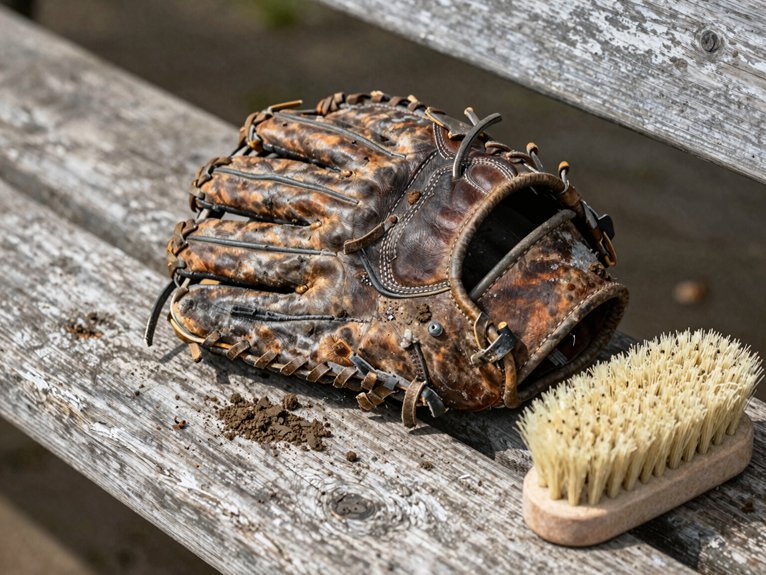
Why risk grinding dirt into your glove when a quick cleanup makes all the difference? You need to clean dirt and debris from your Baseball Glove before you condition leather, or you’ll seal grime right into the pores.
Grab a soft-bristle brush and work through creases, laces, and between fingers where grit hides. Wipe with a dry cloth first to remove surface dust. For stubborn spots, dampen a cloth with warm water and mild leather cleaner, then dry immediately with a clean cloth. Never soak the leather; excess moisture weakens fibers.
Let your glove air dry in a cool, shaded spot before moving forward.
- Brush creases, laces, and finger gaps with a soft-bristle brush
- Wipe surface dust using a dry cloth before any wet cleaning
- Clean deeper dirt with a damp cloth and leather cleaner, then dry right away
- Air dry completely in shade before applying any oil or conditioner
Recommended Products

COLOR-SAFE SOFTNESS – If keeping the original color of your glove is important to you, look no further. Trusted by players and coaches alike, our Sarna glove conditioner nourishes leather without darkening. Reds, blues, pinks, and other modern glove colors will stay true. Fast-absorbing care keeps the pocket flexible and game-ready, with no greasy feel.

COLOR-SAFE SOFTNESS – If keeping the original color of your glove is important to you, look no further. Trusted by players and coaches alike, our Sarna glove conditioner nourishes leather without darkening. Reds, blues, pinks, and other modern glove colors will stay true. Fast-absorbing care keeps the pocket flexible and game-ready, with no greasy feel.
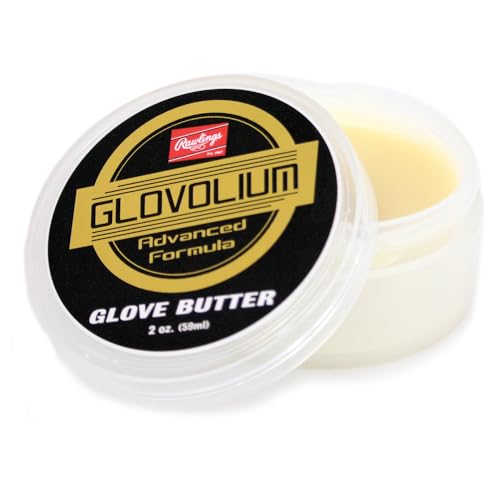
BREAK-IN ASSISTANT | Designed to help break-in any baseball or softball glove
Choose Oil or Conditioner Based on Your Goal
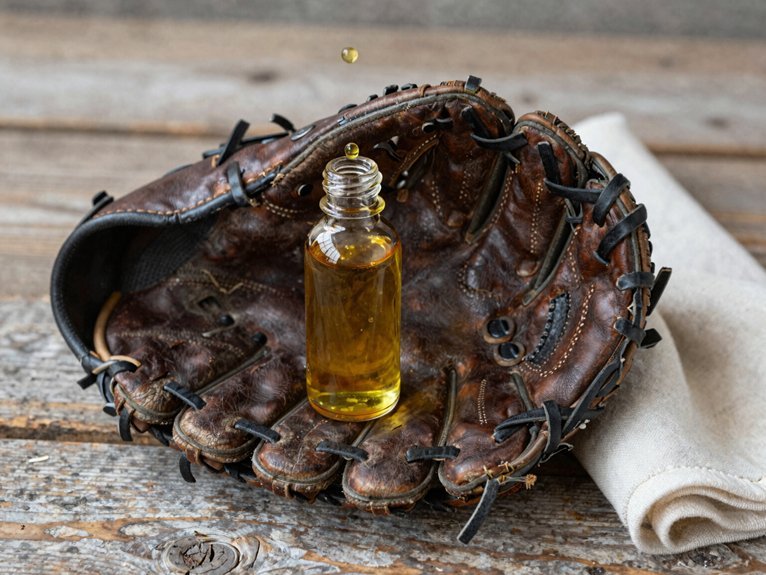
You’ll need to pick between oil and conditioner based on what you’re trying to achieve with your glove. Oils sink deep into the leather and soften it thoroughly, but they’ll add some weight and take longer to dry. Conditioners absorb faster and won’t make your glove feel heavy over time.
If you want quick moisture without the risk of rancid buildup, grab a lanolin-based conditioner and skip the petroleum stuff.
Recommended Products

FASTER BREAK-IN – Use glove oil to break in gloves so a new or stiff mitt softens evenly and shapes to your hand. The lanolin-based formula absorbs fast to help form the pocket and hinge points, making closes smoother on a catcher’s mitt, without gumming laces or leaving a slick, greasy feel.

Quickly Softens and Hydrates Leather: AliBall baseball glove leather conditioner rapidly absorbs into the leather, ensuring your glove remains soft, hydrated, and flexible. Ideal for both new and old gloves.

Soften leather: Baseball mitt oil absorbs quickly into the leather and gets your glove hydrated, soft and malleable. Perfect for both new and old gloves
Oil vs Conditioner
What’s the real difference between oil and conditioner? Oil penetrates your baseball glove’s leather to deeply moisturize and soften it, while conditioner moisturizes and protects but evaporates faster. You’ll want oil when you need serious break-in help for stiff leather, and conditioner for regular maintenance without the heaviness.
Here’s how they stack up:
- Oil delivers deep moisture but can darken leather if you overdo it
- Conditioner resists darkening and keeps your glove lighter
- Oil works best for that stubborn, rigid leather needing extra pliability
- Conditioner suits frequent use since it won’t go rancid as easily
Apply a dime-sized oil amount to a clean cloth for even distribution, or use a thinner coat of conditioner. You’ll oil less often than you condition, especially in dry climates where regular conditioning keeps your glove game-ready without the weight.
Match Product Purpose
Picking the right product comes down to what you’re trying to achieve with your glove.
Choose Oil When:
You want deep penetration and long-lasting lubrication to break in stiff leather. Lanolin-based oils or mink oil work great for softening the palm pocket and surrounding areas. Avoid petroleum-based formulas: they’ll damage your baseball gloves over time.
Choose Conditioner When:
You need lightweight moisture with quicker evaporation. Conditioners moisturize without adding excess weight, and they reduce rancidity risk. Professionals often prefer them for easier maintenance.
Key Differences:
Oils permeate deeper but absorb slowly. Conditioners evaporate faster, leaving less tack behind.
Application Tip:
Start with just a dime-sized amount. Reassess absorption before adding more; over-saturation ruins leather.
Match your product to your goal, and you’ll keep your glove game-ready for seasons to come.
Strip Away Excess Buildup If Re-Treating
Before you add fresh oil, you’ll want to strip away any old residue that’s hanging around from previous treatments. Grab a clean, dry cloth and wipe down the entire glove, paying extra attention to the palm, pocket, and webbing where buildup loves to hide.
Once you’ve cleared the surface, follow up with a lightly damp cloth to catch any remaining debris, then let the leather dry completely so you’re starting with a clean slate.
Recommended Products

SOFTENS, PROTECTS & RESTORES | Glove conditioner that treats leather ball gloves without adding weight

Complete 6-Piece Glove Care Kit for Leather Gloves: Includes Glove Cleaner (8oz), Glove Oil (8oz), Leather Conditioner (3.38oz), 2 applicator pads, and a premium microfiber cloth for full glove maintenance.

Remove Old Residue
Why start fresh with new oil if you’re just trapping old gunk underneath? You’re smart to tackle this cleaning step before re-treating your glove. Grab a clean cloth and wipe away loose dirt and old residue. This simple move sets up your leather for success.
Wipe with a dry clean cloth to lift surface grime and spent conditioning oil. Switch to a damp cloth with warm water and mild leather cleaner for stubborn buildup. Work saddle soap in circular motions with a soft brush for deep glove care. Air dry away from heat, then inspect seams before adding fresh oil.
Taking time here prevents oversaturation and keeps your leather breathing. You’ll thank yourself when that new conditioning oil soaks in properly, not into yesterday’s dirt.
Clean Surface First
A clean surface is your glove’s best friend when you’re ready to re-treat that leather. You’ll want to clean surface first so your glove oil and leather conditioner can actually penetrate instead of sitting on top of grime.
Grab a soft-bristle brush and sweep away dust, especially from creases, laces, and your pocket shape. Then wipe with a lightly damp cloth using warm water and mild soap to remove dirt. Avoid soaking the leather at all costs.
If you’re re-treating, work a gentle leather cleaner in small circles, then buff with a dry cloth so nothing sticky remains. Let your glove air dry in a cool, shady spot before moving forward. Rushing this step traps moisture, which leads to cracking down the road. Patience pays off here.
Start With a Dime-Sized Drop on Your Cloth
The right amount of glove oil makes all the difference between a supple mitt and a soggy mess. Grab a clean, dry cloth and squeeze a dime-sized drop of conditioning oil onto it. You’re aiming for controlled distribution, not a leather swimming pool.
Apply oil to your cloth first, never directly onto the glove, to prevent pooling in creases and laces. A dime-sized amount covers most standard gloves when spread thinly across surfaces. Using too much oil causes over-saturation and heavier leather, so add small amounts only if needed.
If the glove feels sticky after application, wipe excess with a clean dry section of the cloth.
This approach ensures even distribution without drowning your pocket. You’ll get that perfect, game-ready feel without the mess.
Recommended Products

Includes 1 large brush, 2 dauber brushes, and 2 microfiber cloths. Use large brush for overall cleaning and shine, use dauber brushes to access hard-to-reach areas. Use Cloths to wipe down glove
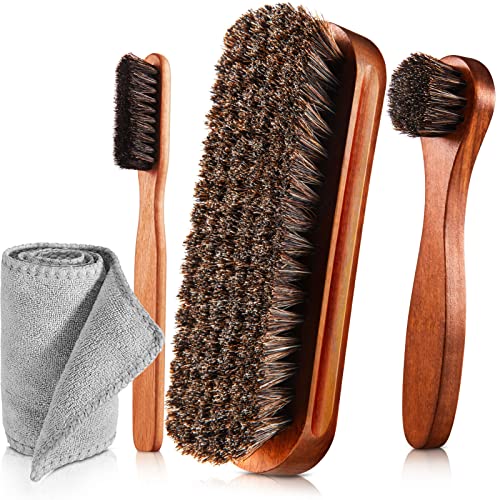
Shoes Shine Brush Set - There are 1 x large size shine brush, 1 x long handle horsehair brush, 1 x detailing shoe brush and 1 x microfiber buffing cloth

HIGH QUALITY - Premium horsehair brushes, crafted from natural European beech wood and effectively hard horsehair, ensure superior cleaning, polishing, and shine. They effectively address wear and fading, delivering a thorough polish and brilliant shine
Work Into Palm, Pocket, and Webbing
You’ll want to focus your attention on the palm, pocket, and webbing since these spots take the biggest beating during games and practice.
Work that dime-sized drop into the leather using small circular motions until it feels evenly absorbed and slightly tacky, not greasy.
Don’t forget to give the laces a light pass too, keeping them supple without soaking them, then set the glove aside so everything can sink in before you start shaping it.
Recommended Products

COMFORTABLE FIT & TOOL CONTROL: Multiple sizes support a good fit. Soft cowhide, gunn cut, keystone thumb, elastic wrist, and EN 420 Dexterity Level 5 help hands move naturally and grip tools with control.

4-IN-1 KIT: Each mink oil kit includes premium mink oil, a horsehair brush, sponge and towel—everything you need for comprehensive leather care. Ideal for home use, travel, or as a thoughtful option, this kit ensures convenience and effectiveness.
100% Natural Top-grade Full Grain Leather: These leather strip and leather strap are made of full grain leather, it is premium pull-up oil tanned leather with a firm feel. The pores of the leather are tight and uniform, the fullness and flexibility, the gloss, grease and smell are also very good
Target High-Wear Zones
Where exactly should you focus your oiling efforts for maximum impact? You’ll want to target the high-wear zones where your glove takes the most beating: the palm, pocket, and webbing. These areas flex, catch, and absorb impact every play, so they need extra love during conditioning.
Here’s where to concentrate your oil application:
- Rub oil in circular motions across the palm, especially where thumb and pinky meet, since those hinge points stress most during catches
- Work oil into the pocket along the heel and webbing to keep that responsive shape you need
- Use small amounts; you’re aiming for penetration, not saturation
- Let the glove rest afterward so the palm, pocket, and webbing absorb fully before you move on
This targeted approach keeps your leather ready for play without wasting product on low-stress areas.
Massage Oil Thoroughly
Once you’ve targeted those high-wear zones, it’s time to get your hands dirty and work that oil deep into the leather. Grab a clean, lint-free cloth and apply a dime-sized amount of glove oil. Start with the palm, using circular motions to drive the conditioner into every crease. Work methodically toward the back of hand and webbing between fingers. This ensures uniform distribution and prevents dry spots that’ll crack later.
Focus extra attention on the pocket and lace areas where your hand takes a beating. Use light, repetitive passes rather than soaking the leather. You’re conditioning, not marinating.
After the initial absorption, wipe away any excess oil that hasn’t sunk in. Let your glove rest overnight in a cool, dry spot before shaping or playing catch. Patience pays off here.
Oil the Laces Lightly to Prevent Cracking
Why let your glove’s laces become brittle when a quick touch-up can save them? Oiling laces is a small step that delivers big results for your baseball glove’s longevity.
A quick touch-up now saves your laces from brittleness later—small step, big results for glove longevity.
Grab a clean cloth and dab on just a whisper of oil. You’re not deep-frying here; you’re conditioning. Work it into the laces, especially where they bend most, near the pocket and finger-weld zones. This targeted leather conditioning keeps everything supple and responsive.
Here’s your quick-hit checklist for lace care:
- Apply oil sparingly to avoid saturating the leather fibers
- Target high-stress zones where laces cracking starts first
- Prevent oil pooling in lace holes that attracts dirt
- Set your glove in a cool dry environment for proper absorption
Skip this step and you’ll face stiff, snapping laces mid-season. A little attention now saves you re-lacing headaches later.
Recommended Products
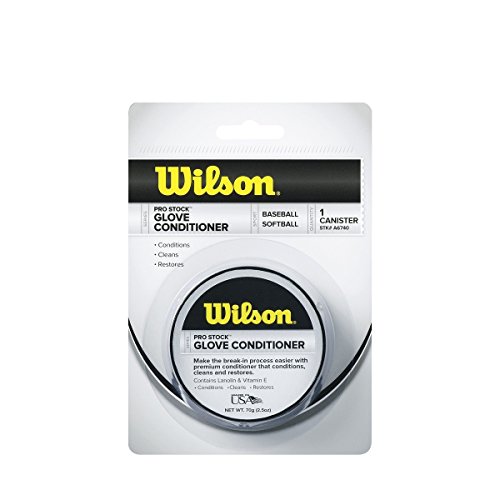
Premium glove conditioner

COMPLETE LEATHER CARE: Our baseball glove oil conditioner is designed for all leather gloves, including baseball, softball, and football mitts, ensuring they remain in top condition.

Allow Overnight Absorption Before Wiping
With the laces nourished and the leather conditioned, your glove needs time to drink it all in. Place your glove in a cool, dry spot overnight to let the oil absorb fully into the leather. Keep it away from direct sunlight or heat sources; heat can damage the leather and ruin your hard work.
Absorption time varies by leather type and climate, but overnight rest maximizes moisture penetration. This patience pays off: you’ll prevent excess oil from sitting on the surface, avoiding that greasy, sticky feel nobody wants.
In the morning, check your glove. Wipe away any remaining surface oil with a clean cloth. This final touch ensures an even, clean finish and keeps your leather ready for play without the slip. Your glove’s now set for shaping.
Recommended Products

FASTER BREAK-IN – Use this softball and baseball glove oil break in solution when a new mitt feels stiff. The lanolin-based formula absorbs deeply to soften leather, improve flexibility, and help shape the pocket faster without leaving a heavy, greasy feel.

Rejuvenates dry and worn-out leather athletic gloves

Quickly Softens and Hydrates Leather: AliBall baseball glove leather conditioner rapidly absorbs into the leather, ensuring your glove remains soft, hydrated, and flexible. Ideal for both new and old gloves.
Shape the Pocket With a Ball and Band
Where should you focus your shaping efforts after all that conditioning? The pocket, naturally, since that’s where every catch happens.
Grab a baseball or softball and push it firmly into your glove‘s pocket. Now wrap a rubber band around the whole thing to squeeze the leather closed. You’re locking in that shape while the oil keeps working.
Here’s what happens next:
Let the ball sit while your glove rests, giving the leather time to set. Check the pocket’s form after a few hours of downtime.
Tap the pocket edges gently with a mallet if you want extra depth. Repeat the band and ball routine anytime the pocket goes flat.
Remove the band, pull out the ball, and test the pocket. It should feel game-ready, with that perfect bowl shape every infielder craves.
Recommended Products

SOFTENS, PROTECTS & RESTORES | Glove gel that treats leather ball gloves without adding weight

Heavy-Duty Glove Cleaning Kit: This kit includes one 2-oz tin of baseball glove scrub cleaner plus one horsehair dauber brush and one microfiber cloth

[PRESERVES & PROTECTS LEATHER] Pecard Baseball Glove Conditioner is formulated to maintain the softness and flexibility of oil-tanned baseball gloves, preventing hardening and cracking.
Condition Every 3–4 Months for Long-Term Care
How often should you show your glove some love? Every 3–4 months, you’ll want to grab a quality leather conditioner and give your mitt the attention it deserves.
Pick a non-greasy, petroleum-free formula and oil evenly across the surface, paying extra attention to the glove pocket where wear hits hardest. Let the leather absorb the treatment for 10–15 minutes, then wipe away excess with a soft cloth. If you’re playing in dry climates or putting in heavy innings, tighten that maintenance schedule so stiffness doesn’t creep in.
Your break-in efforts matter, and regular conditioning protects that investment. Even during the off-season, stick to your routine to preserve flexibility. Think of it as glove insurance: small effort now, big payoff later when you snare that line drive.
Recommended Products

HIGH QUALITY - High-quality horsehair brushes are trusted by professionals. Made of European beech wood and horsehair of effective hardness. Can be well cleaned, polished and shiny. Will not scratch the surface.

Buff, shine, and restore the lusture of your leather with the Cobbler's Choice Shoe Brush made with premium Horsehair Bristles on an Beech Wood Handle.

Package Content: The package includes 2 salve brush for furniture and 1 pair of gloves, designed to deeply clean various types of leather furniture. This helps extend the longevity of your furniture and other leather items. (Salve not included.)