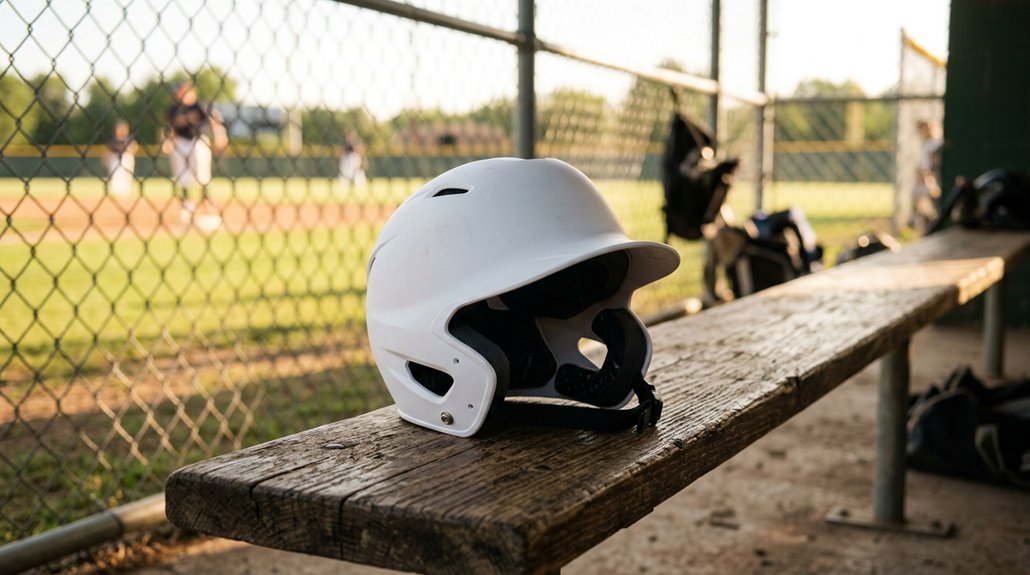
Finding the right baseball helmet isn’t just about grabbing your favorite team’s colors. You’ll need to measure your head, check the fit, and avoid some common mistakes that could leave you unprotected at the plate.
The difference between youth and adult sizing isn’t always obvious, and a loose helmet won’t do its job when you need it most. Stick around to learn exactly how to get your measurements right, pass the shake test, and pick gear that keeps you safe without breaking the bank.
Find Your Helmet Size Category First (Youth or Adult)
Why start with the basics? You’ll save time and avoid headaches by knowing your category before diving into charts.
Know your category first—save time and skip the headache of sorting through endless sizing charts later.
Youth vs. Adult: Know Where You Belong****
First, determine if you’re shopping Youth or Adult. Youth helmet sizing covers Tee Ball through Senior League, while Adult fits larger measurements with pro-style designs. Your head circumference, measured just above your ears, guides this choice. Check the manufacturer’s chart for your category.
Smart Fitting Tips
Between sizes? Pick the smaller one for a snug, secure fit. Match skull caps and batting helmets to your chosen category. Use the same hat size guidance across all gear.
Getting this right means better protection and comfort at the plate. No one wants a wobbly helmet when they’re staring down a fastball.
Recommended Products
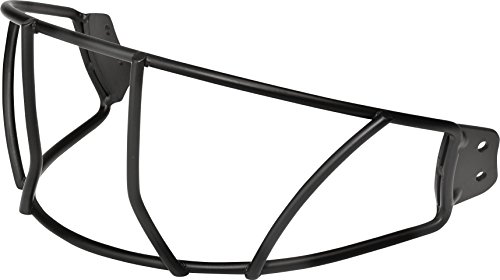
MAXIMUM VISIBILITY | New wire configuration allows for increased visibility and less weight

CHOOSE YOUR GAME-DAY LOOK | Available in two Coolflo designs: the original, classic Coolflo or the sleek, pro-inspired Coolflo Max, so young players can choose the style that fits them best

CRAFTED TO FIT ON ALL RAWLINGS VELO, R16, AND RCFH BATTING HELMETS
Measure Your Head the Right Way
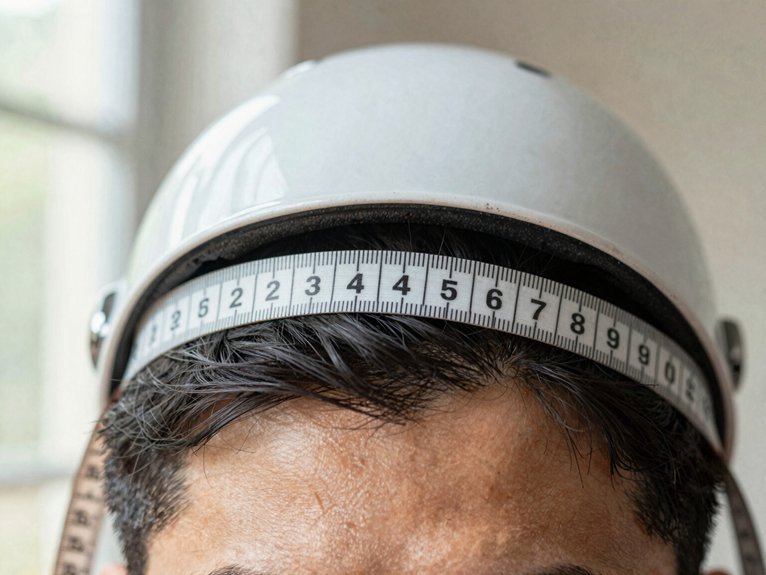
You’ll want to grab a soft fabric measuring tape and wrap it around your head just above your ears, keeping it flat and snug but not squeezing.
Make sure you’re starting and ending at the same point to get a true circumference reading that matches your actual head size.
Once you’ve got that number, you’re ready to check it against the manufacturer’s sizing chart and find your perfect fit.
Recommended Products

EvoShield XVT 2.0 Matte Batting Helmet - Black, Large/X-Large

EvoShield XVT 2.0 Gloss Batting Helmet with Facemask - Black, X-Small

IMPACT-GRADE CONSTRUCTION: Constructed with three layers of impact-grade ABS material and high-density, impact-absorbing contour comfort foam for maximum protection and comfort.
Proper Tape Placement
Getting the right helmet starts with one simple tool: a fabric measuring tape. You’ll wrap this measuring tape around your head, positioning it slightly above your ears where the helmet will actually sit. Keep the tape flat against your skull, snug but not squeezing, and jot down that head circumference in inches or centimeters.
Remove hats, headphones, or bulky hair accessories first. These items throw off your numbers and lead to a sloppy fit. Take the measurement twice to double-check your work; a small error now means discomfort later.
Once you’ve got your head circumference, match it to the manufacturer’s sizing chart. Think of this like hat shopping: different helmet models fit differently even when the numbers match. Don’t assume one size works everywhere.
Accurate Circumference Measurement
How do you nail the measurement that’ll make or break your helmet fit? You’ll wrap a fabric measuring tape around your head, keeping it slightly above your ears. Keep the tape flat and snug, but don’t crank it tight.
Check that the tape lies smooth against your skin without riding up or bunching. A crooked tape gives you a bogus reading, and nobody wants a helmet that fits like a wobbly bucket.
Grab that circumference number and match it to your hat size. Then hit the manufacturer’s sizing chart to find your helmet size. Don’t eyeball it or guess.
Measure twice to lock in accuracy. This number drives your whole purchase, so treat it like your batting average: precise and repeatable.
Match Your Measurement to the Size Chart
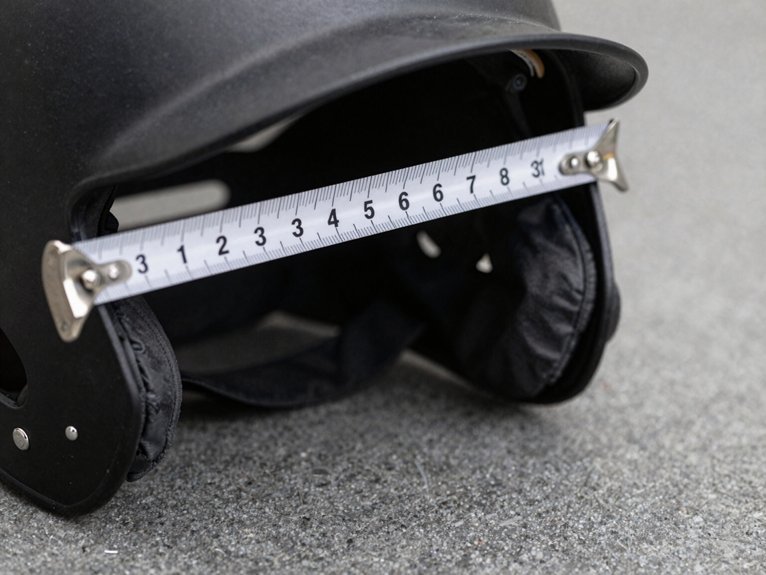
Once you’ve got your head measurement, it’s time to turn that number into the right helmet size. Take your head circumference and match it to the manufacturer’s size chart. Most charts list ranges like 49.2–57.8 cm (19 3/8–22 in) with corresponding hat sizes.
Match your head circumference to the manufacturer’s size chart, checking ranges like 49.2–57.8 cm with corresponding hat sizes.
Stuck between two sizes? Pick the smaller one. A snug helmet stays put when you’re rounding bases or diving for catches.
Check your specific model’s chart, too. Shell shapes and padding thickness vary between brands, so don’t assume one size fits all.
For catchers, double-check that your helmet size works with your chosen face mask and jaw guard. Compatibility matters when you’re blocking wild pitches.
Finding your fit takes two minutes, and it keeps you safe every inning.
Recommended Products

Compact Casing: Features a space-saving design with heavy-duty protective rubber boot for durability and portability on any job site

DUAL COLOR/DUAL FUNCTION FULL BODY MEASURING TAPE - Only body tape with dedicated yellow side for easy error free circumference measurement. Yellow side automatically calculates body circumference with no extra adding or subtracting on your part.

MULTIPLE USES: Body fat measurement tape, waist measuring ruler, body wraps weight loss for women and men, sewing ruler, virtual bra fittings, kids tape measure, fabric measuring tape, shoes, dress, baby, woodworking, wardrobe, gym, rope, chin, chest, arm, bodybuilding, dog and puppy, smart measure tape, mm ruler, clothing measuring tape, body measuring tape weight loss
Do the Shake Test: And Adjust If It Moves
Why guess if your helmet fits when you can prove it in seconds? Put the helmet on and shake your head side to side, then up and down. If it slides or wobbles, your helmet fit isn’t secure.
A proper helmet stays put during movement. It shouldn’t rotate independently of your head or lift off when you bend forward. If you feel shifting, size down, even if your head circumference matches the chart. Manufacturers vary, so trust the shake test over numbers alone.
Check that pads touch evenly all around. No gaps at the temples or back mean you’re covered.
Don’t buy big for “growth room,” head circumference barely changes after age ten. A loose helmet protects like a loose glove; it doesn’t. Get snug, stay safe.
Recommended Products

Reduces the fit of compatible Velo helmets by two hat sizes

Package Included:Our Helmet Padding Comes with 9 replacement helmet foma pads, perfectly Compatible with Easton baseball and fastball helmets, making it an ideal choice to replace or supplement helmet padding

REPLACEMENT PADDING | Easily replace part or all of your helmet padding
Position It One Inch Above Your Eyebrows
You’ve passed the shake test, so now let’s get the helmet sitting exactly where it belongs. Position it one inch above your eyebrows for the best fit and protection. This placement ensures the back of your skull stays fully covered by the padding, working with your head’s circumference to create complete coverage.
Here’s what proper positioning looks like:
Your eyes scanning the field clearly, with no rim blocking your view. The padding cradling the back of your head like a firm handshake. The chin strap sitting comfortably without pulling the helmet down. Face guard attachments aligning perfectly for full facial protection.
If you push the helmet lower, you’ll obstruct your vision and compromise safety. Keep that one-inch gap, and you’ll maintain compatibility with all your gear while staying protected at every base.
Recommended Products
CRAFTED TO FIT ON ALL RAWLINGS VELO, R16, AND RCFH BATTING HELMETS

COOLFLO SKULL CAP STYLE | Designed for coaches to stay cool and protected while on the basepaths

MAXIMUM PROTECTION | ABS thermoplastic shell is engineered to keep hitters safe in the batters box
Don’t Size Up to “Grow Into”: And 3 Other Mistakes
You might think you’re being smart by buying a bigger helmet your kid can grow into, but you’re actually trading safety for false economy.
Your head stops growing much after age ten, so that oversized lid will just slip around and block vision when it matters most.
Stick to the three key mistakes you’ll want to dodge: grabbing oversized helmets, skipping proper circumference measurements, and forgetting the shake test that proves you’ve got a secure fit.
Recommended Products
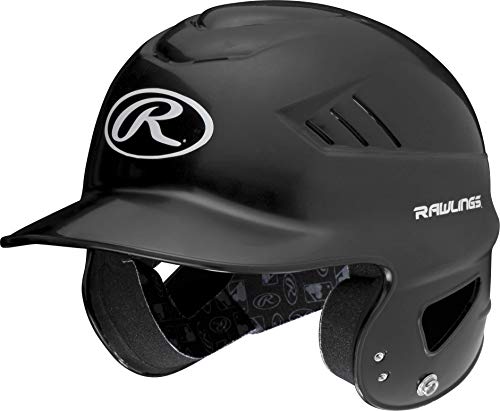
CHOOSE YOUR GAME-DAY LOOK | Available in two Coolflo designs: the original, classic Coolflo or the sleek, pro-inspired Coolflo Max, so young players can choose the style that fits them best. Both options are NOCSAE certified

Z50 HELMET | High-impact ABS shell with zonal foam placement provides durable protection and optimized comfort.

Strategic ventilation system for comfort and breathability
Buying Oversized Helmets
How often have you heard someone suggest buying a helmet that’s a little big so your kid can grow into it? Don’t fall for this common trap. Head circumference barely changes after age 10, so that oversized lid won’t magically fit next season.
A loose helmet fit creates serious problems on the field. You need a snug, secure helmet that stays put when you run, swing, and slide.
Picture what happens with too much room:
The helmet slides forward, blocking your view of a high fastball. It tilts sideways during a headfirst slide into second. Padding gaps let the shell rattle against your skull on impact. The chin strap chafes because you’re tightening it extra hard.
If you’re between sizes, pick the smaller option. Measure your head circumference, check the manufacturer’s chart, and perform the shake test. Your helmet should sit one inch above your eyebrows and grip firmly without rocking.
Ignoring Circumference Measurements
Why guess with something as important as your head? You need to measure your head circumference properly and take it seriously.
Don’t size up hoping to “grow into” a helmet. After age 10, your head barely grows, so that extra room just means slipping, sliding, and blocked vision. That’s a swing and a miss on safety.
When you shop, grab a cloth tape and wrap it around your head, just above your eyebrows. Write that number down.
Then run a fit test: the helmet should sit one inch above your eyebrows, snug but not squeezing. If you’re between sizes, pick the smaller one. A loose helmet won’t protect you when it counts.
Skip the hats underneath too, they throw everything off.
Skipping Shake Tests
Where’s the harm in a little wiggle room? Actually, there is plenty. When you skip the shake test, you’re gambling with your safety.
After measuring your head circumference and selecting a size, you must perform the shake test. Move your head side-to-side, then up and down. If the helmet slides or rotates, it’s too loose. A proper fit stays put without squeezing.
Watch for these warning signs of a failed shake test:
The helmet shifts when you nod quickly. You can fit more than one finger between your brow and the rim. The sides lift when you open your jaw wide. Pressure points disappear after a few minutes of wear.
Don’t size up hoping to grow into it. A loose helmet reduces protection and distracts you during play. Get the fit right now.
How Jaw Guards and Face Masks Change Fit
When you’re adding a jaw guard or face mask to your helmet, you’re not just strapping on extra gear. You’re changing how that helmet sits on your head. A jaw guard adds bulk at the front, which can raise the effective depth and sometimes requires a smaller size for secure contact.
Check compatibility before buying. Many jaw guards are pre-attached or drilled for specific helmet models, so brand matching matters for a proper fit. The guard’s orientation depends on which side faces the pitcher, though this affects visibility and balance, not your basic head circumference measurement.
Open-face helmets give you more visibility, while jaw-guard setups add facial protection without changing the size chart. Always test the full assembly. Your helmet plus guard should fit snugly, with no gaps or shifting when you move.
Recommended Products

MAXIMUM PROTECTION | ABS thermoplastic shell is engineered to keep hitters safe in the batters box
EvoShield XVT 2.0 Matte Batting Helmet - Black, Medium/Large

Z50 HELMET | High-impact ABS shell with zonal foam placement provides durable protection and optimized comfort.
Check for NOCSAE Certification
Once you’ve got your helmet and any jaw guard fitting comfortably, you’ll want to make sure it’s actually going to protect you when it counts. That’s where NOCSAE certification comes in. You’ll spot this stamp of safety on legit baseball gear, and it means your helmet’s been tested for hard hits and rough plays.
Picture yourself at the plate, and remember:
- The NOCSAE logo stamped on the back shell, your badge of confidence
- Fresh certification stickers gleaming under stadium lights
- Your faceguard carrying the same seal, locked in tight
- Manufacturer paperwork proving you’re covered
Don’t skip this step, even with a perfect helmet fit. Retailers usually flag NOCSAE certification online, but double-check that label yourself. This standard cuts injury risk, though no helmet stops every concussion, so wear it right every time.
Try Different Brands: Shell Shapes Vary More Than You Think
Why settle for the first helmet you grab off the shelf when your head deserves a better match? Shell shapes vary more than you think, so you’ll want to try multiple brands before committing.
Why Brand Matters****
Your head circumference might match a size chart perfectly, yet helmet fit still feels off. That’s because internal padding and shell geometry differ across manufacturers. One brand’s medium hugs your skull snugly; another’s leaves you wobbling at the plate.
Smart Shopping Tips
- Try at least two or three brands before buying
- When between sizes, choose the smaller option for less movement
- Perform the shake test: your helmet shouldn’t slide around
- Position it one inch above your eyebrows for proper protection
Don’t let brand loyalty compromise your safety. Test different options, and you’ll find your perfect fit.
Recommended Products

COMPATIBLE WITH | Rawlings VELO Batting Helmets (R16RS, R16RJ, R16S, R16J, R16H2FGS, R16H2FGJ, R16A2S, R16A2J, R16H2S, R16H2J, R16MS, R16MJ)
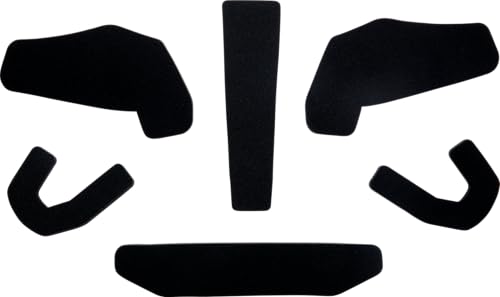
COMPLETE FIT KIT | Includes 2 side pads, 2 jaw pads, 1 forehead pad, and 1 crown pad for a fully customized helmet fit.

COMPATIBLE WITH | Rawlings MACH Batting Helmets