You’ve got a floppy glove with busted laces, and you’re wondering if you can fix it yourself. You absolutely can. Relacing takes patience, not magic, and you’ll save fifty bucks while learning something useful.
Grab a lacing needle, some rawhide, and a little time. The five steps ahead will walk you through mapping your pattern, threading the web and fingers, and getting that pocket ready for play again. Your glove’s second act starts now.
Assess the Damage and Gather Relacing Tools
Before you start re-lacing, take a good look at what you’re working with. Check if the existing laces can be reused or if you’ll need replacement laces. If laces were pulled from all four fingers, you’re looking at a full re-lace job. Count the damaged sections and estimate lengths for each area: Webbing, Fingers plus Web Spiral, Palm, Hand Opening, and Pinky/Thumb.
Grab your tools: leather punch, lacing needle, lacing awl, replacement laces, scissors, and something to secure holes before threading. Don’t forget to sketch a quick diagram with dark lines for outside-the-mitt paths and broken lines for through-the-mitt paths.
Need supplies? Flatbill Baseball, Ballplayers Balm, and BaseballSavings re-lacing kits have you covered.
Recommended Products
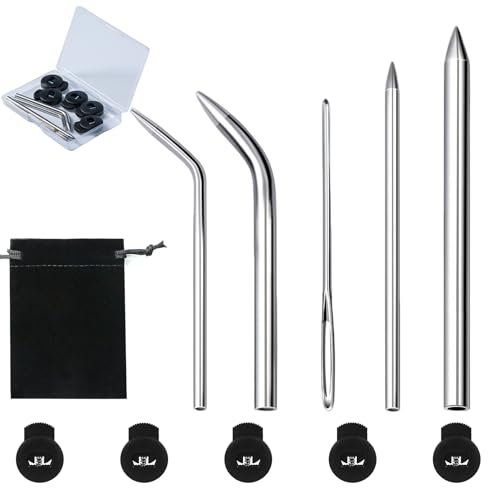
【What You Get:】The package includes 5 baseball glove lacing needles, 5 lcae locks, 1 needle bag and a transparent storage box for storing the needles.

Packing List: You will receive 4 pieces of baseball lacing needles in total, sufficient quantity to meet your multiple uses and needs. This fits for players, coaches and equipment managers. You can also share them with your family and friends for added convenience.

Built to Last, Not to Bend: This baseball glove lacing needle features sturdy steel construction that withstands repeated use through the thickest leather without bending or warping, solving the frustration of flimsy tools that fail mid-repair; designed for reliable glove repair season after season, this dependable tool handles tough leather with ease so you can complete every relacing project with confidence and precision
Remove Old Laces and Map the Pattern
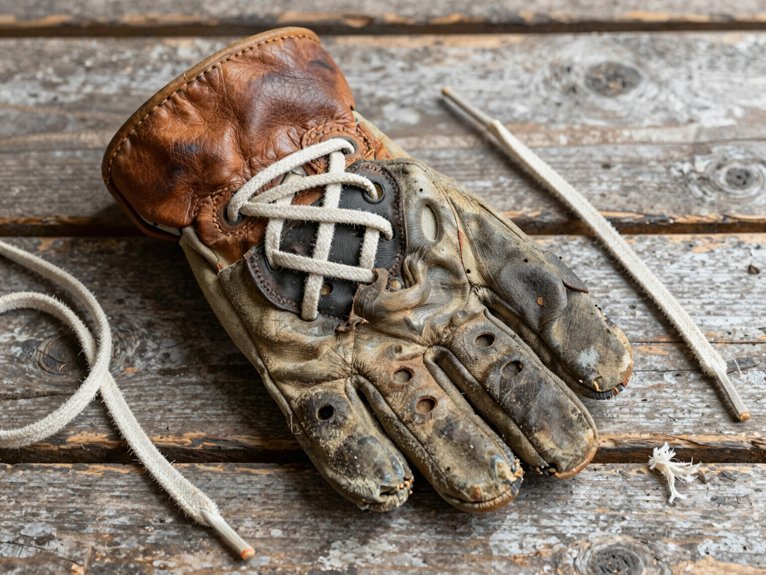
With your tools lined up and your damage assessment complete, you’re ready to strip the glove down to its bare leather. Carefully cut and remove all old laces without nicking the leather, keeping those holes residue-free and ready for fresh glove lacing. Check whether any laces can be reused, or if you’ll replace all four fingers’ laces, noting if the web and palm need different lengths.
Next, grab paper and sketch your lacing pattern. Label each hole from index finger to pinky, and mark outside-the-mitt paths with dark lines so you won’t get turned around later. If holes look stretched or torn, use your leather punch to create clean, evenly spaced openings that match the original design.
Flip the glove inside out to double-check hole alignment from front to back. This mapping step saves headaches when you’re threading that new lace through.
Recommended Products
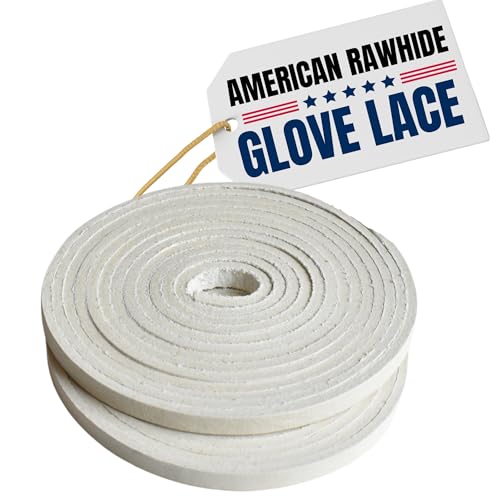
Premium American Rawhide Durability: Crafted from authentic American rawhide leather—not mass-produced synthetic—this premium baseball glove lace delivers exceptional strength that resists fraying and snapping under tension during intense play, providing reliable glove repair that maintains integrity season after season with proper care; detailed instructions included guide you through confident installation
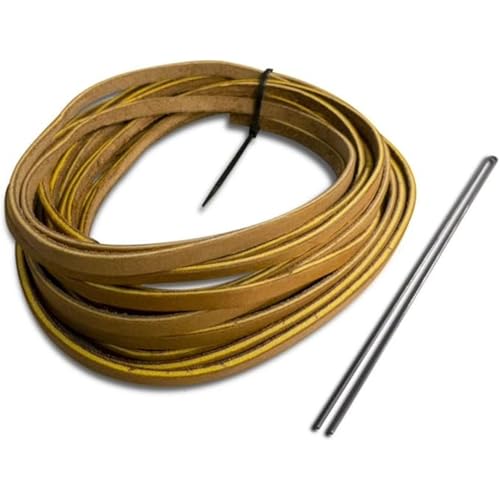
ALL-IN-ONE KIT | Includes all you need to re-lace your glove and restore its performance

The Ultimate Baseball Glove Repair Lacing Kit: Comes with 2 cowhide leather strips, each 72 inches long (182.88 centimeters) and 3/16 inch wide (4.80 millimeters). You have enough leather to do the pocket and the fingers to relace your favorite mitts. This is the only baseball glove repair kit you'll ever need!
Start Relacing: Web, Fingers, and Palm
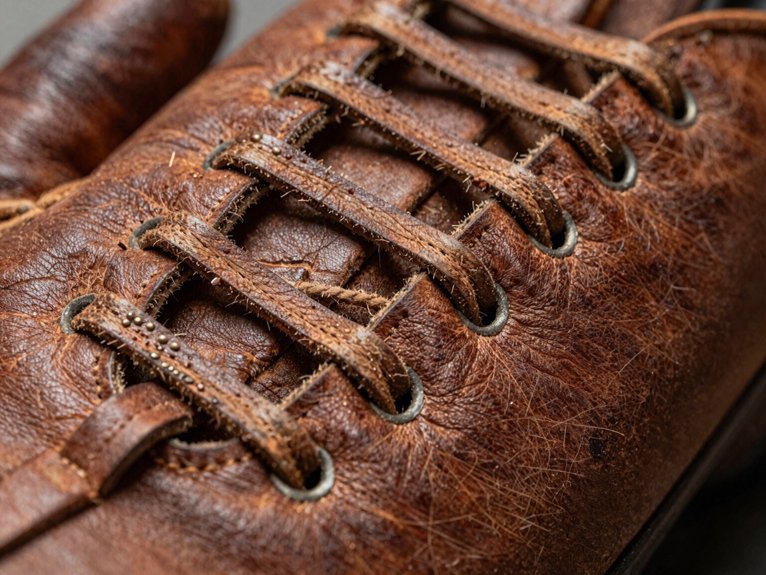
Why start anywhere else when the web‘s the heart of your glove’s personality? You’ll begin your lacing journey here, using 1/4 inch lace cut to 72 inches for the first section. Save whatever remains for later steps as you progress through the webbing.
Thread carefully through each hole in the established pattern, guiding the lace completely before moving forward. This patience pays off in a clean, professional look.
Next, tackle the Fingers + Web Spiral with 52, 54 inches of 1/4 inch lace, keeping a slight excess handy. Maintain consistent tension throughout to preserve that perfect pocket shape you’re building.
Finally, shift to 3/16 inch lace for the Palm section. Plan the length so your glove flexes smoothly without binding when you squeeze it shut.
Recommended Products

【Multi-function】 Ideal for use on a variety of surfaces. It is an awesome tool. The punch plier is commonly used for punching round holes in leather, belts, plastic, rubber, canvas, fabric, cardboard, saddles, and similar materials; especially useful as a leather hole punch. It has 6 different sizes, which is perfect for home hobby or commercial use. Hole size dimensions: 2mm, 2.5mm, 3mm, 3.5mm, 4mm and 4.5mm. And the six tapers are very sharp to meet the maximum demand.

The Ultimate Baseball Glove Repair Lacing Kit: Comes with 2 cowhide leather strips, each 72 inches long (182.88 centimeters) and 3/16 inch wide (4.80 millimeters). You have enough leather to do the pocket and the fingers to relace your favorite mitts. This is the only baseball glove repair kit you'll ever need!

HEAVY DUTY HOLE PUNCH: A leather punch is designed for making holes in leather. The working tip is a hollow steel cylinder with a sharp circular knife-like edge, and the grip handles are comfortable to use.
Pull Tight, Tie Knots, and Trim Excess
You’ve threaded every section of your glove, and now it’s time to lock everything in place. Pull each lace tight enough to remove slack, but don’t warp the pockets or holes. You’re aiming for snug, not strained.
Work through every lace segment, repeating the tightening process according to your planned pattern. Tie secure knots on the inside of the glove ends to prevent slippage during play. Trim excess lace, leaving a small tail for future retying if needed.
Gently tug each section to check your knots and laces for security. This final step ensures your hard work holds up when it counts. A well-laced glove feels solid in your hand and ready for action.
Recommended Products

BASEBALL GLOVE REPAIR LACING KIT: This relacing kit includes 2 genuine cowhide leather strips, each 72 inches long (183 centimeters) and 4.8mm (3/16") wide. And 1 heavy duty lacing needle for ease of use.

Baseball Glove Lacing Kit: there are 1 set of baseball glove tool kit in the package, including 2 rolls of baseball glove laces, 1 piece of drawstring threader, 1 piece of tweezer, 4 pieces of baseball gloves locks, 1 piece of U wire needle, 1 piece of scratch awl, 1 piece of awl with hook, 1 piece of leather cutter, 1 piece of long nose pliers and 1 piece of plastic box, a complete set for you to repairing gloves

Baseball Glove Lacing Kit: there are 1 set of baseball glove tool kit in the package, including 2 rolls of baseball glove laces, 1 piece of drawstring threader, 1 piece of tweezer, 4 pieces of baseball gloves locks, 1 piece of U wire needle, 1 piece of scratch awl, 1 piece of awl with hook, 1 piece of leather cutter, 1 piece of long nose pliers and 1 piece of plastic box, a complete set for you to repairing gloves
Test Your Glove and Get Back in the Game
Once you’ve finished lacing, it’s time to put your work to the test. Grab a partner and play catch to evaluate your glove‘s flexibility after glove relacing. You’ll quickly spot any stiff areas that need attention.
Check Your Movement****
Open and close the glove repeatedly. Confirm the web, fingers, palm, and thumb move smoothly without binding. Your pocket depth should feel right for your position, so adjust the formation if catches aren’t settling cleanly.
Secure Your Work
Peek inside and verify your knots are tight with no loose ends waiting to snag. This small step prevents mid-game surprises.
Test Break-In and Repeat****
If stiffness lingers, revisit steps 1–3 of the break-in process. Repeat light throwing until the feel clicks. Your glove’s ready when it feels like an extension of your hand.